All the code presented here is available at github.
Overview#
An MES system is a very holistic software. It reaches different elements of the shopfloor and different personas.
From acting as machine HMIs to global enterprise dashboards. The MES is everywhere in your shopfloor.
Manufacturing systems focus a lot on mapping complex business logic, from managing complex logistic flows, sampling flows or even experiment flows. These are all bread and butter for a mature MES system. But these are systems that need to be tailored to their user base.
They need to be easily adjusted and customized to fit manufacturing scenarios and to minimize wasteful interaction. For us, this has been mostly achieved with a low code UI platform for user interactions and leveraging grafana for the creation of dashboards.
And we have a whole presentation on that:
In this blog post I want to tackle more complex scenarios and show how even for those there is a common framework and extension points we can use to create our own tailored solutions.
Custom Project#
In the Critical Manufacturing ecosystem we always start from the sandbox of a customization project. You can check here how to scaffold a project.
After we create an HTML package we will be able to spin up a local MES instance, by doing:
cd <your html package>
cmf build
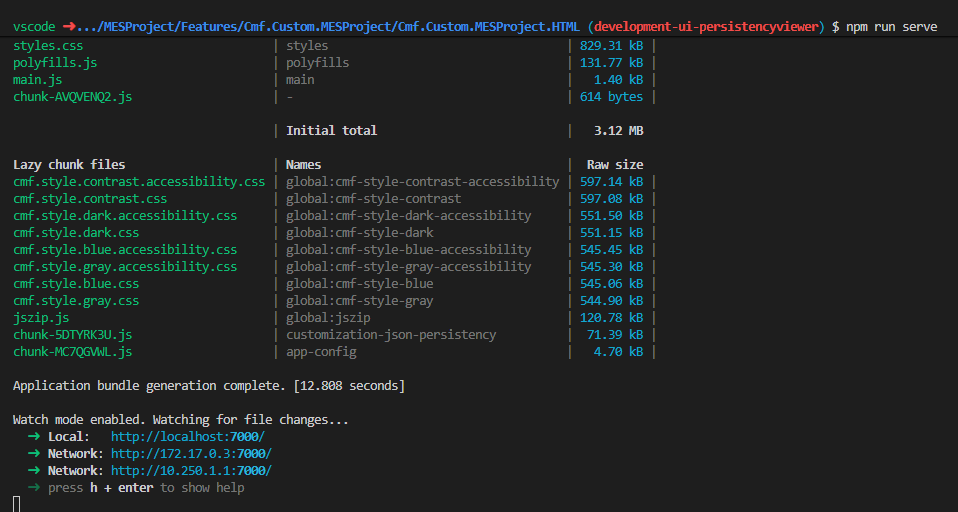
Then we can spin up a local server of our UI, by running:
cd <your html package>
npm run serve
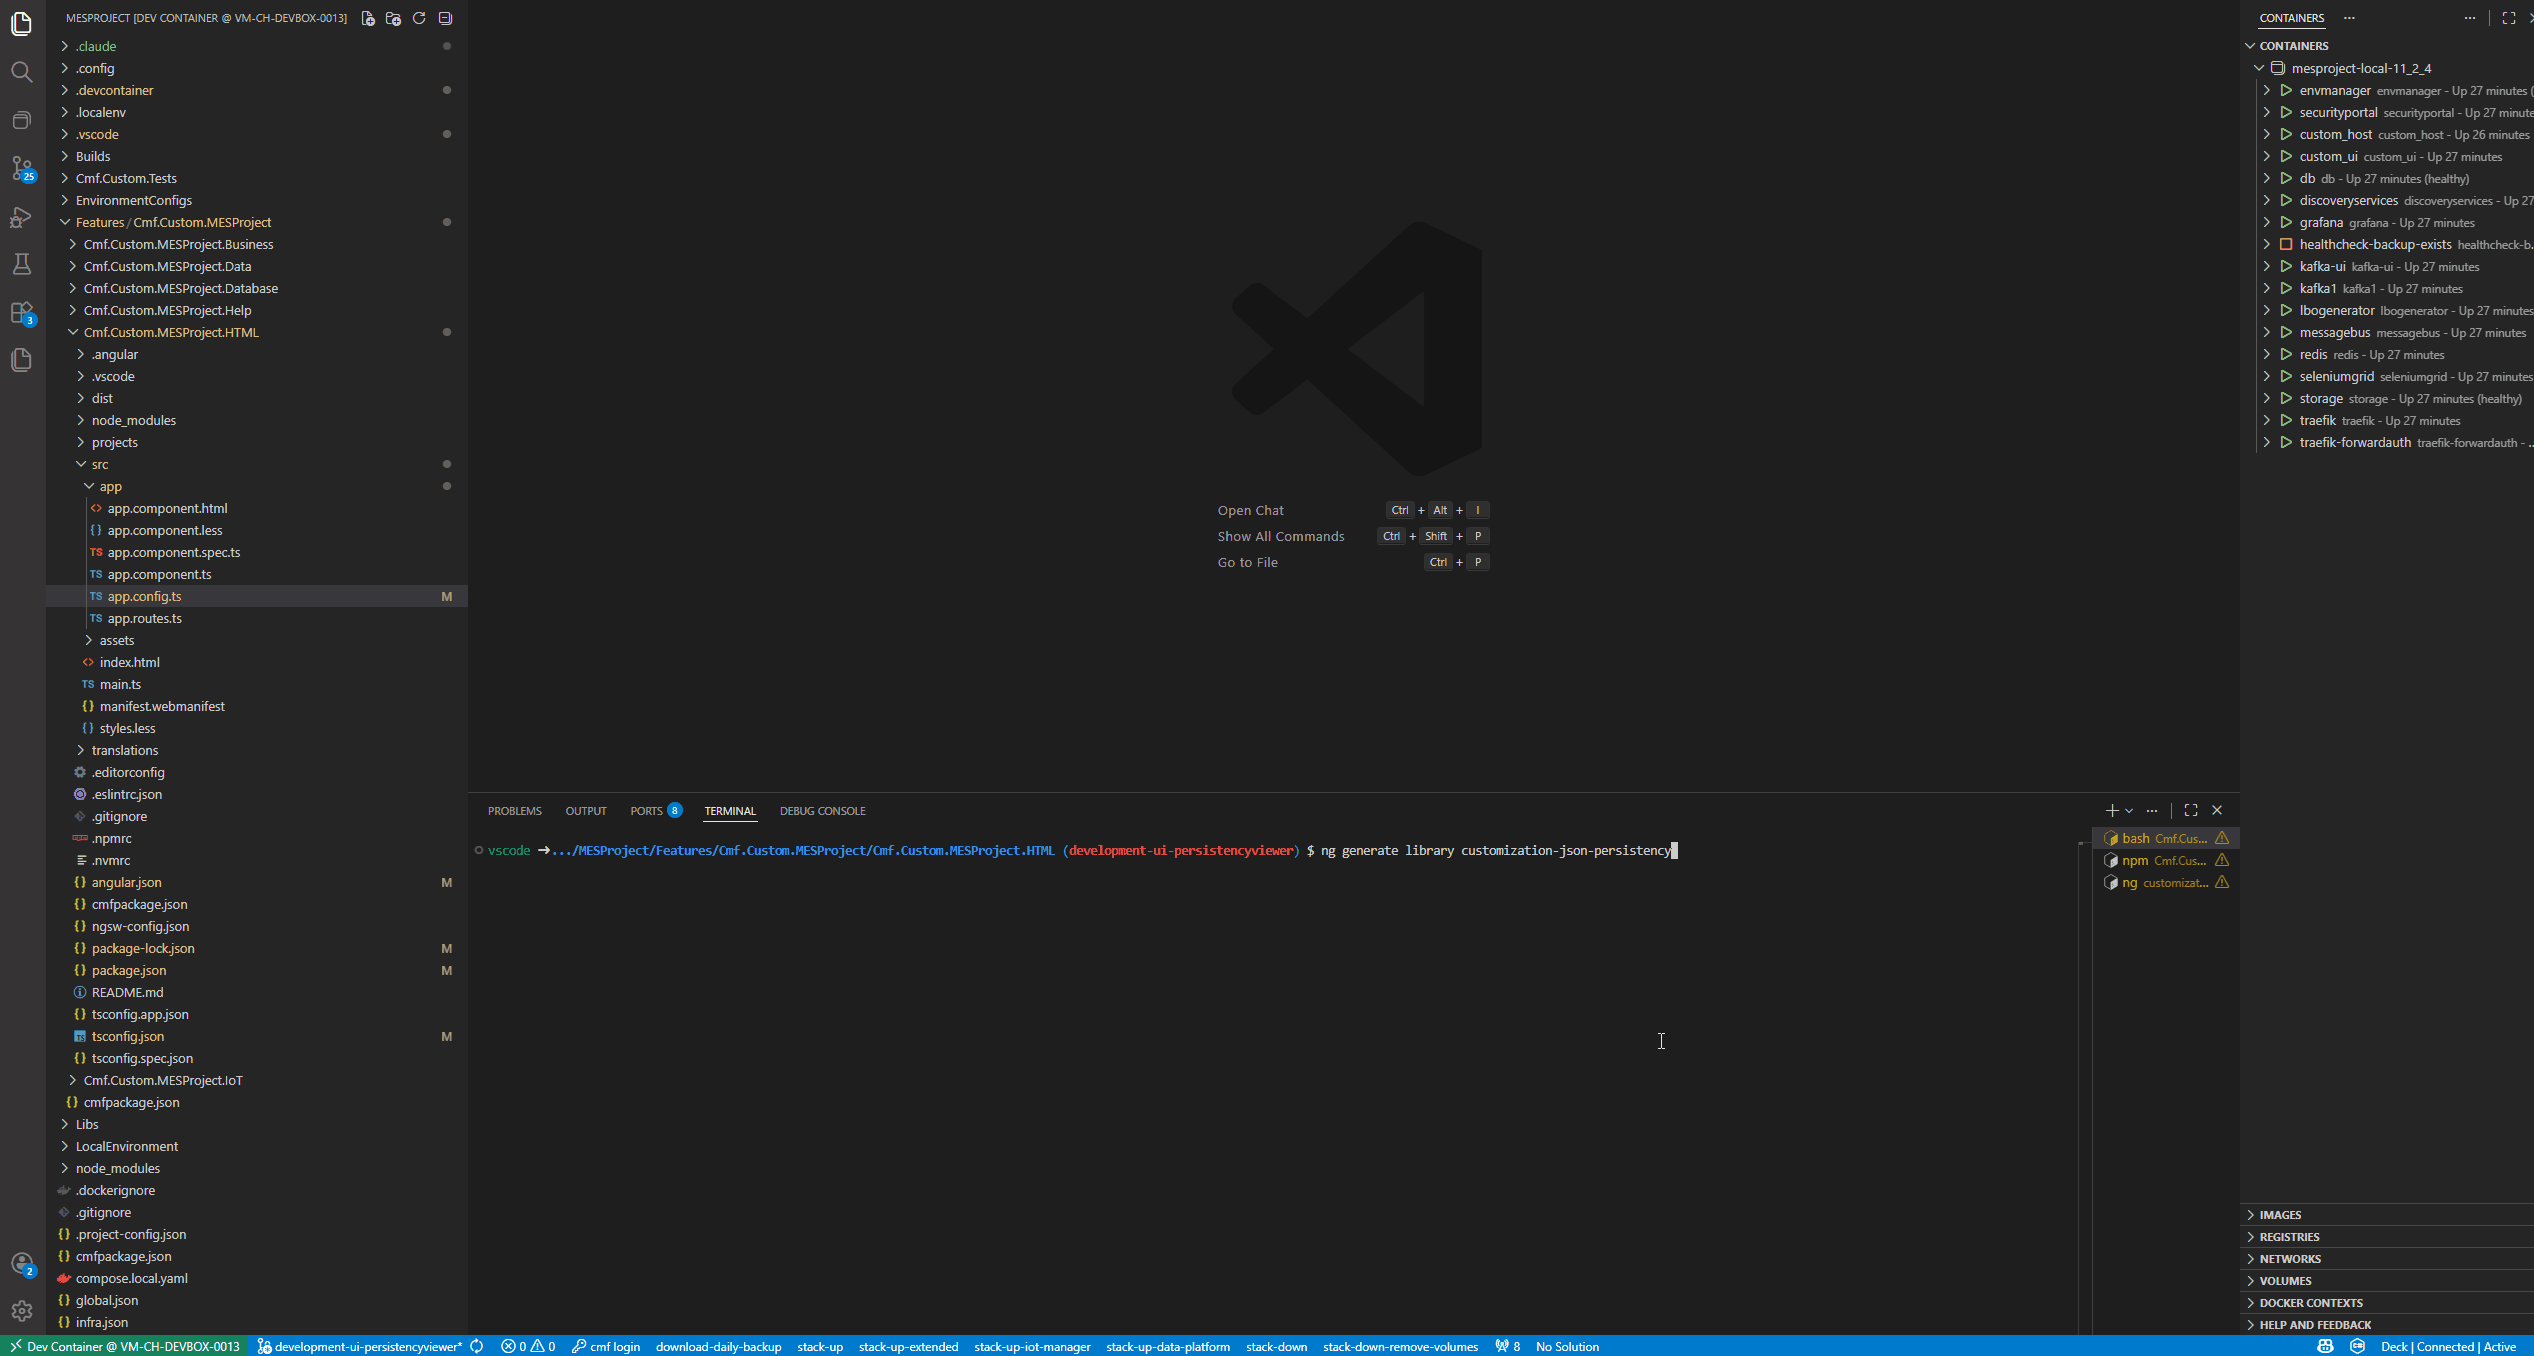
Now we can spin up a new local stack.
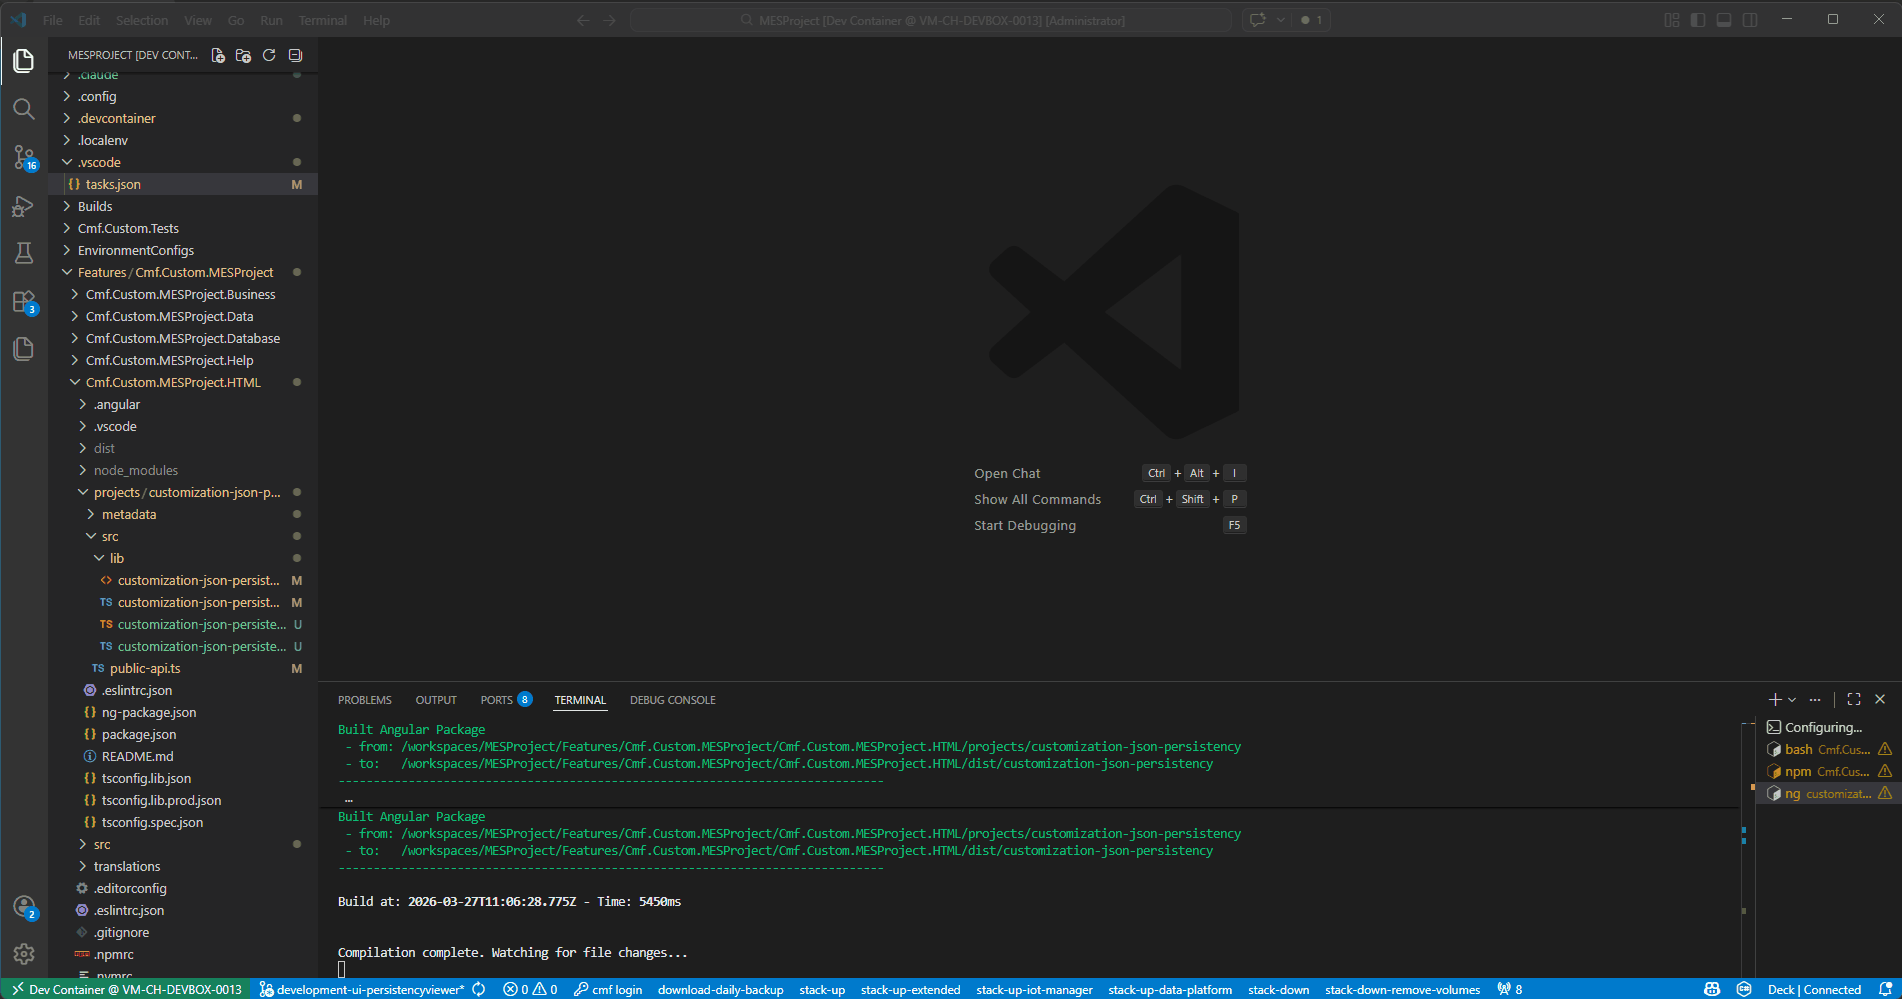
VSCode tasks - select stack-up
We now have a fully functioning workspace where we can create our custom implementation.
Use Case#
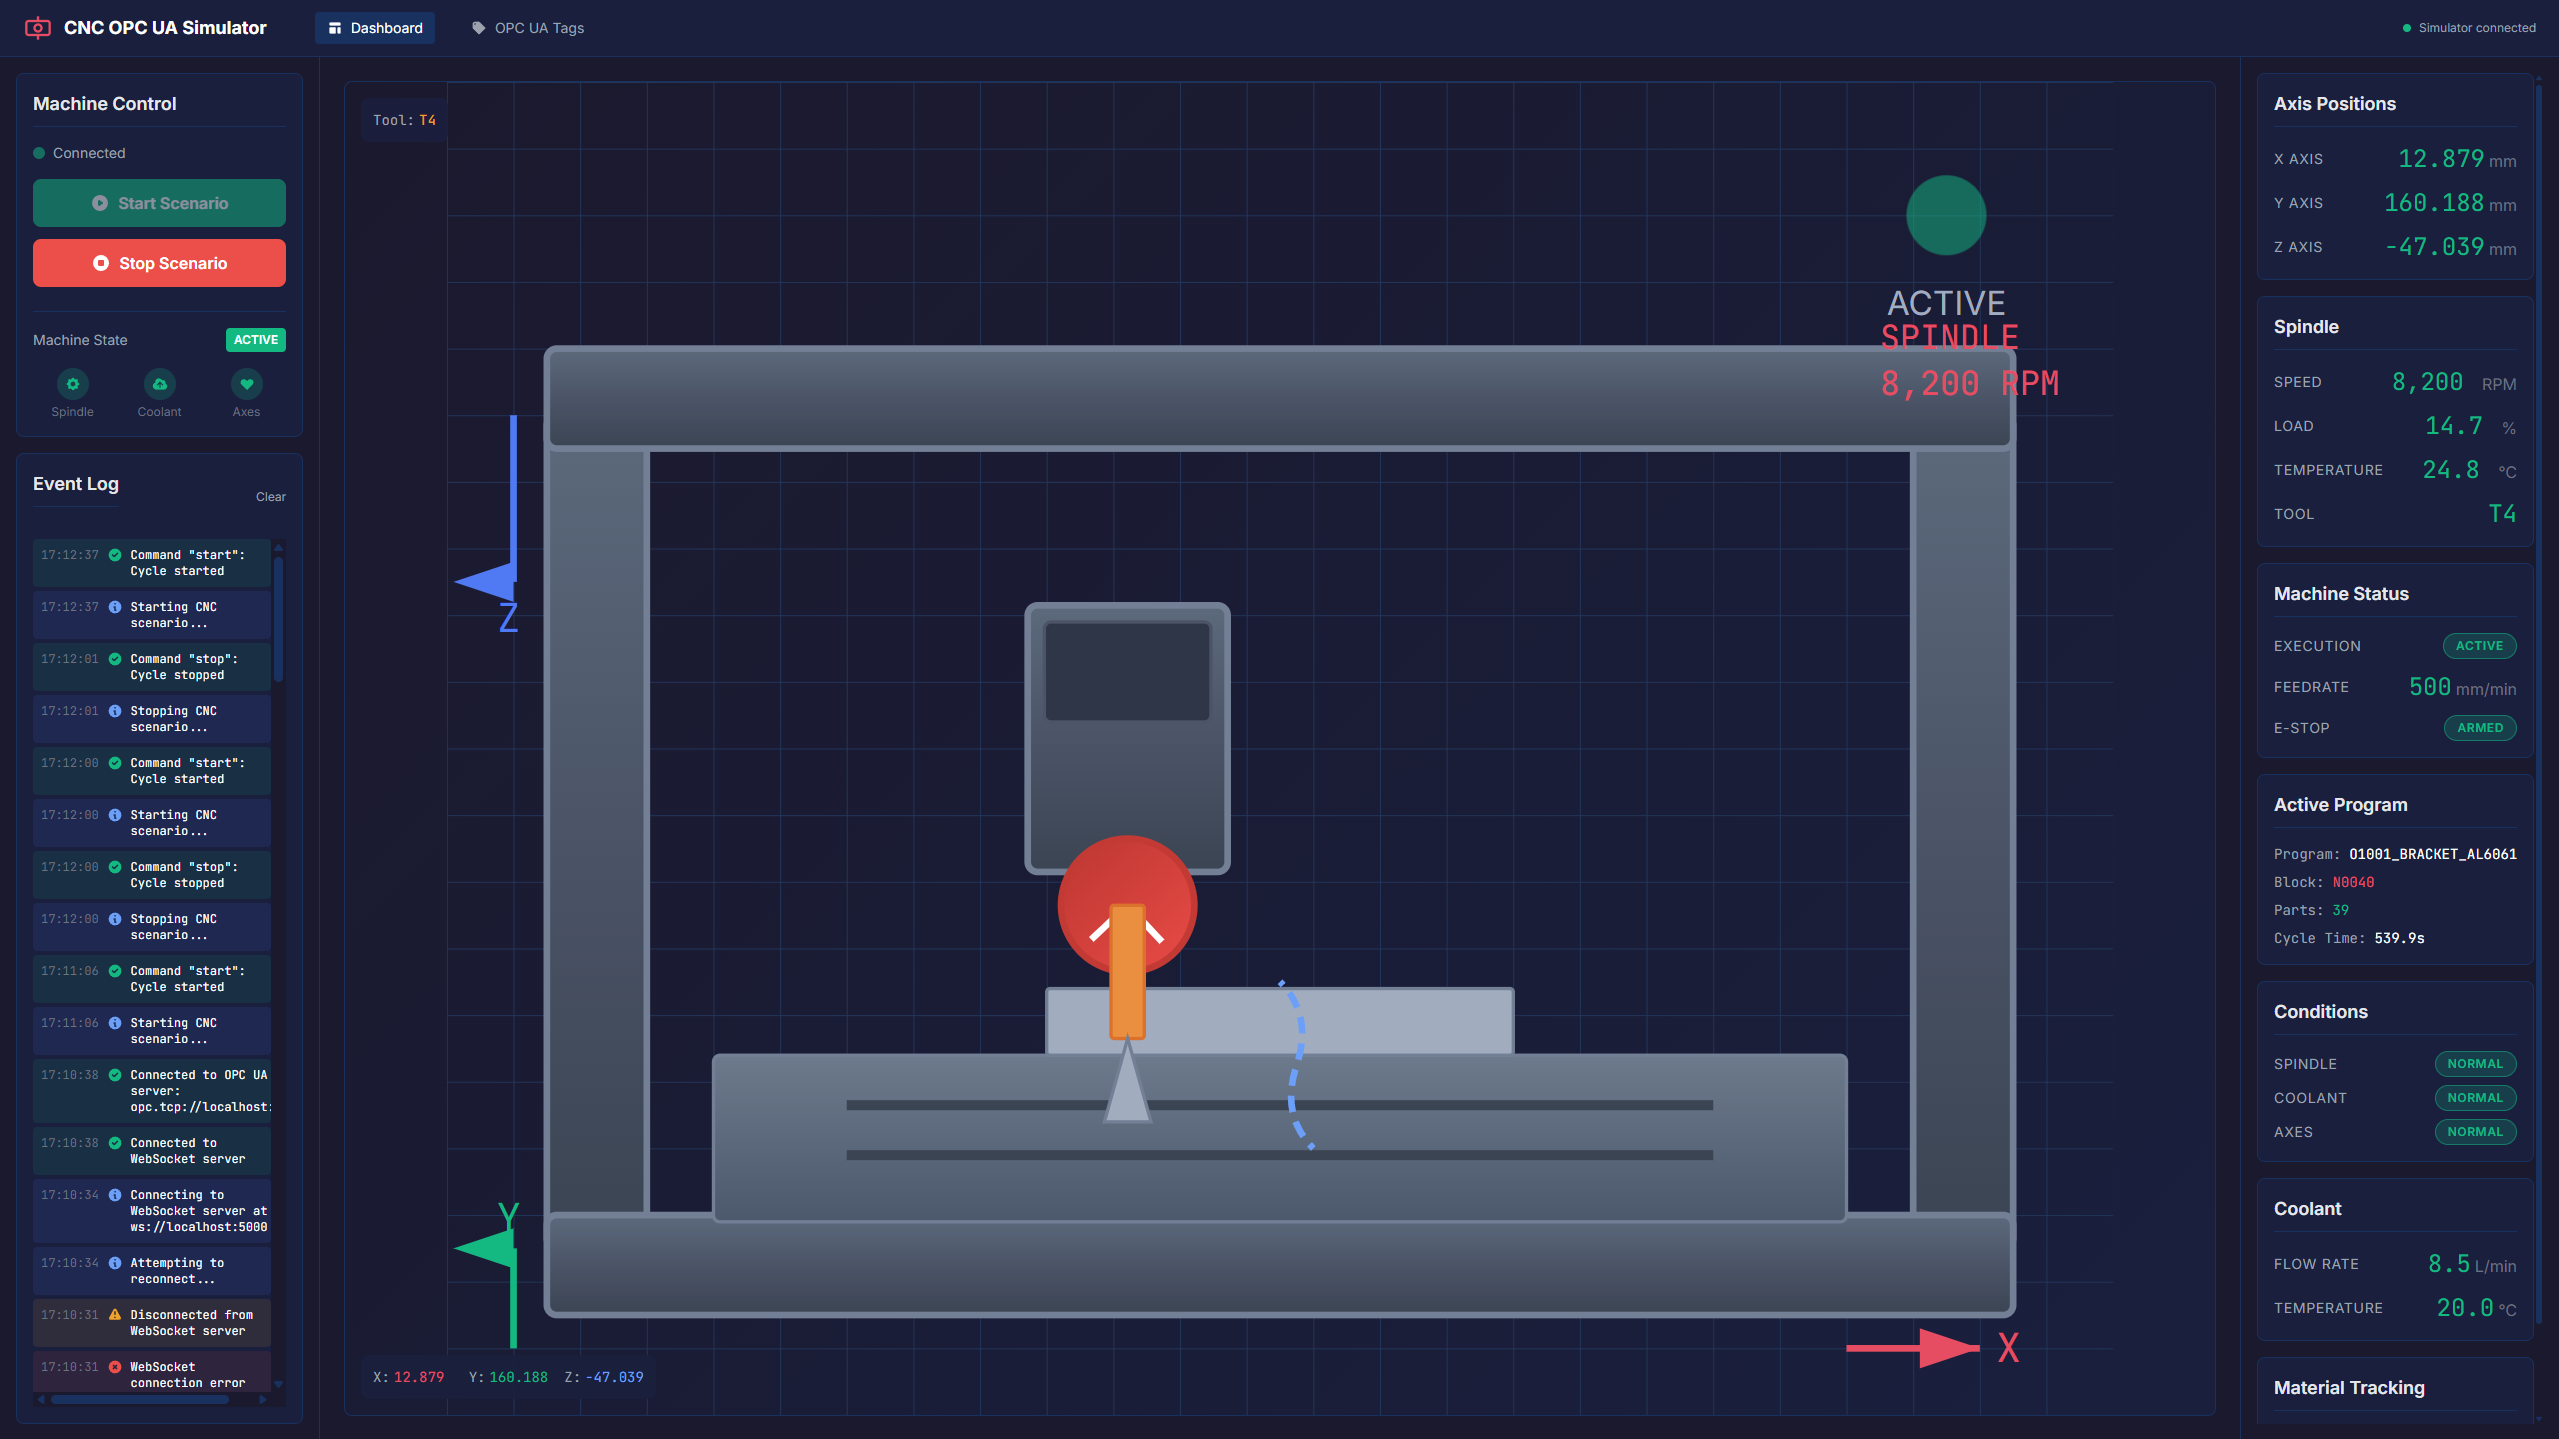
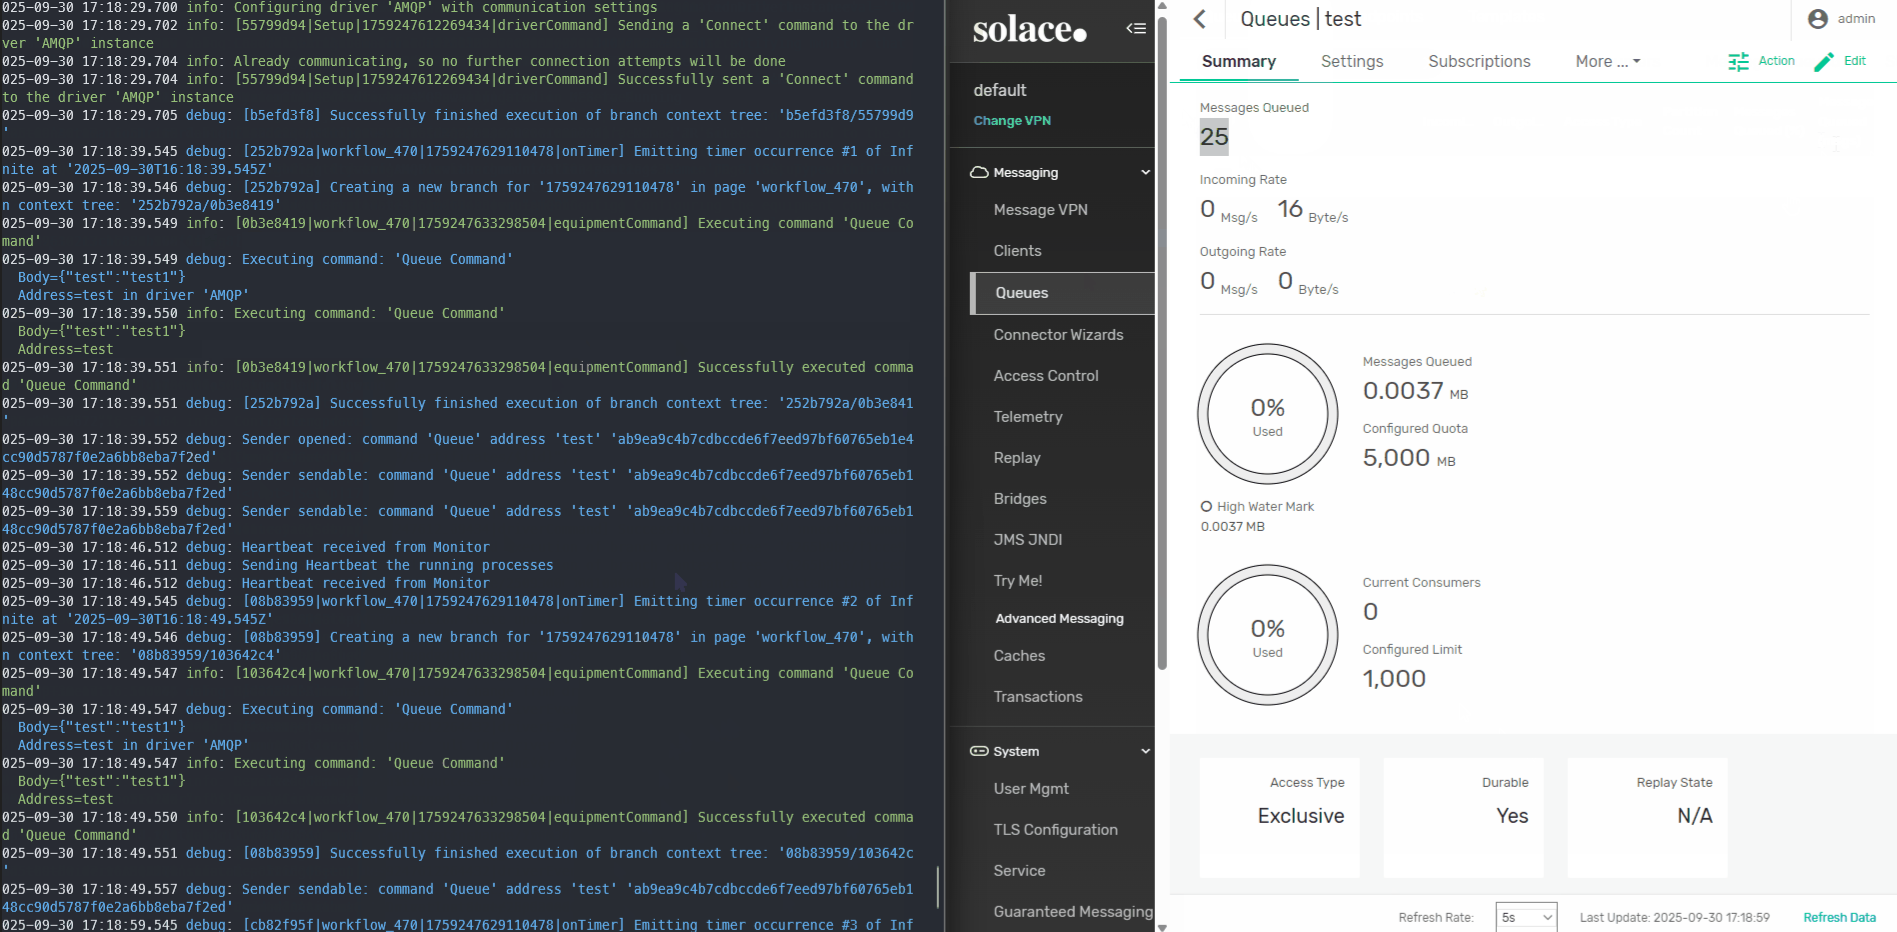
In integration scenarios it’s often the case where we store information on the edge. This is critical information for the machine interfacing process or is cached information that it’s needed for performance reasons. I go into some details in a previous blog post here.
Our use case today is to have a view of this information in the MES.
We want the UI to be able to show information, from key values to complex information payloads. Adding also the ability to override current values.
Let’s now see all the steps we took to be able to create this interactive view.
Injecting buttons on the Entity View#
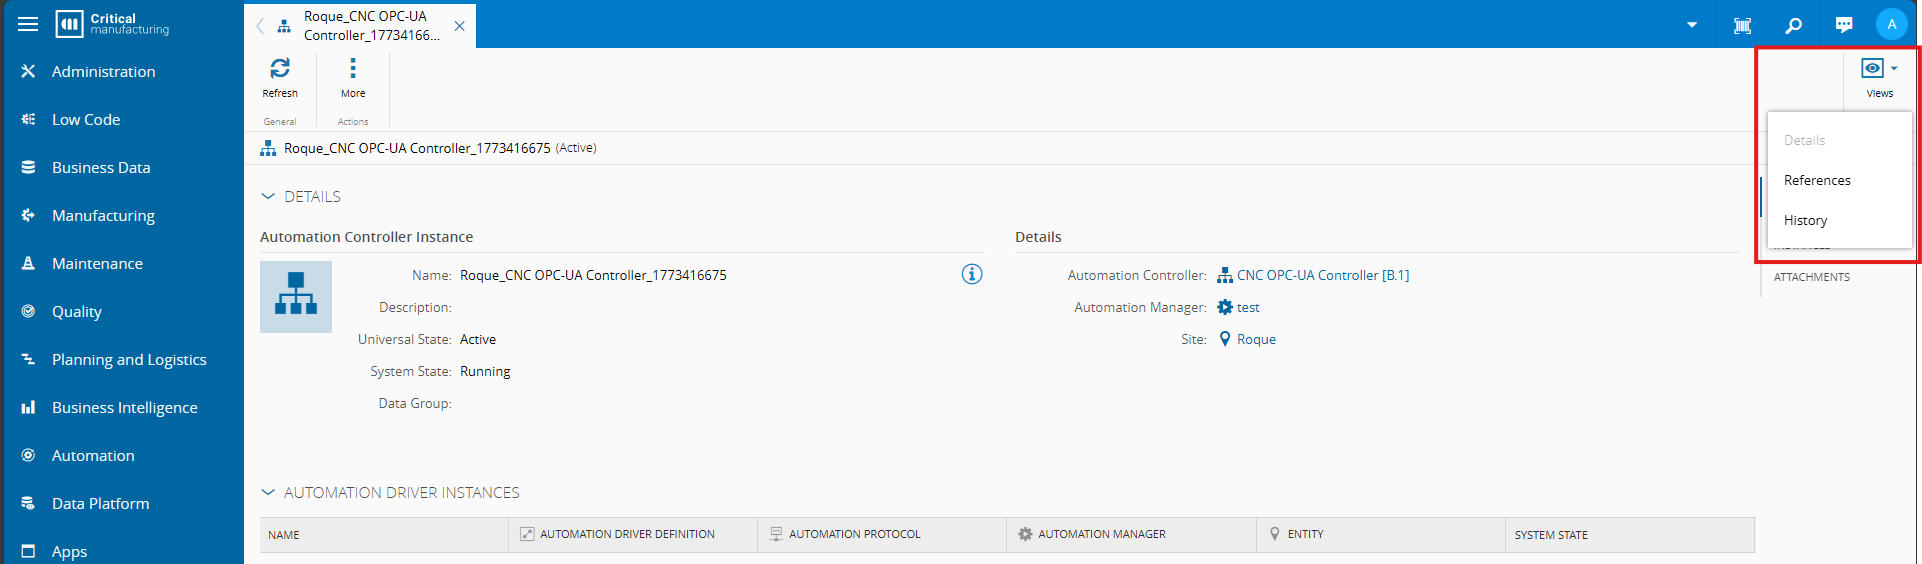
An entity page view is a component that you see every time you open an MES instance.
CM MES is very flexible and allows you to inject your own custom components in the MES UI. For our use case we want to inject our button in the entity page of the AutomationControllerInstance entity.
You can take a look at the deep dive here.
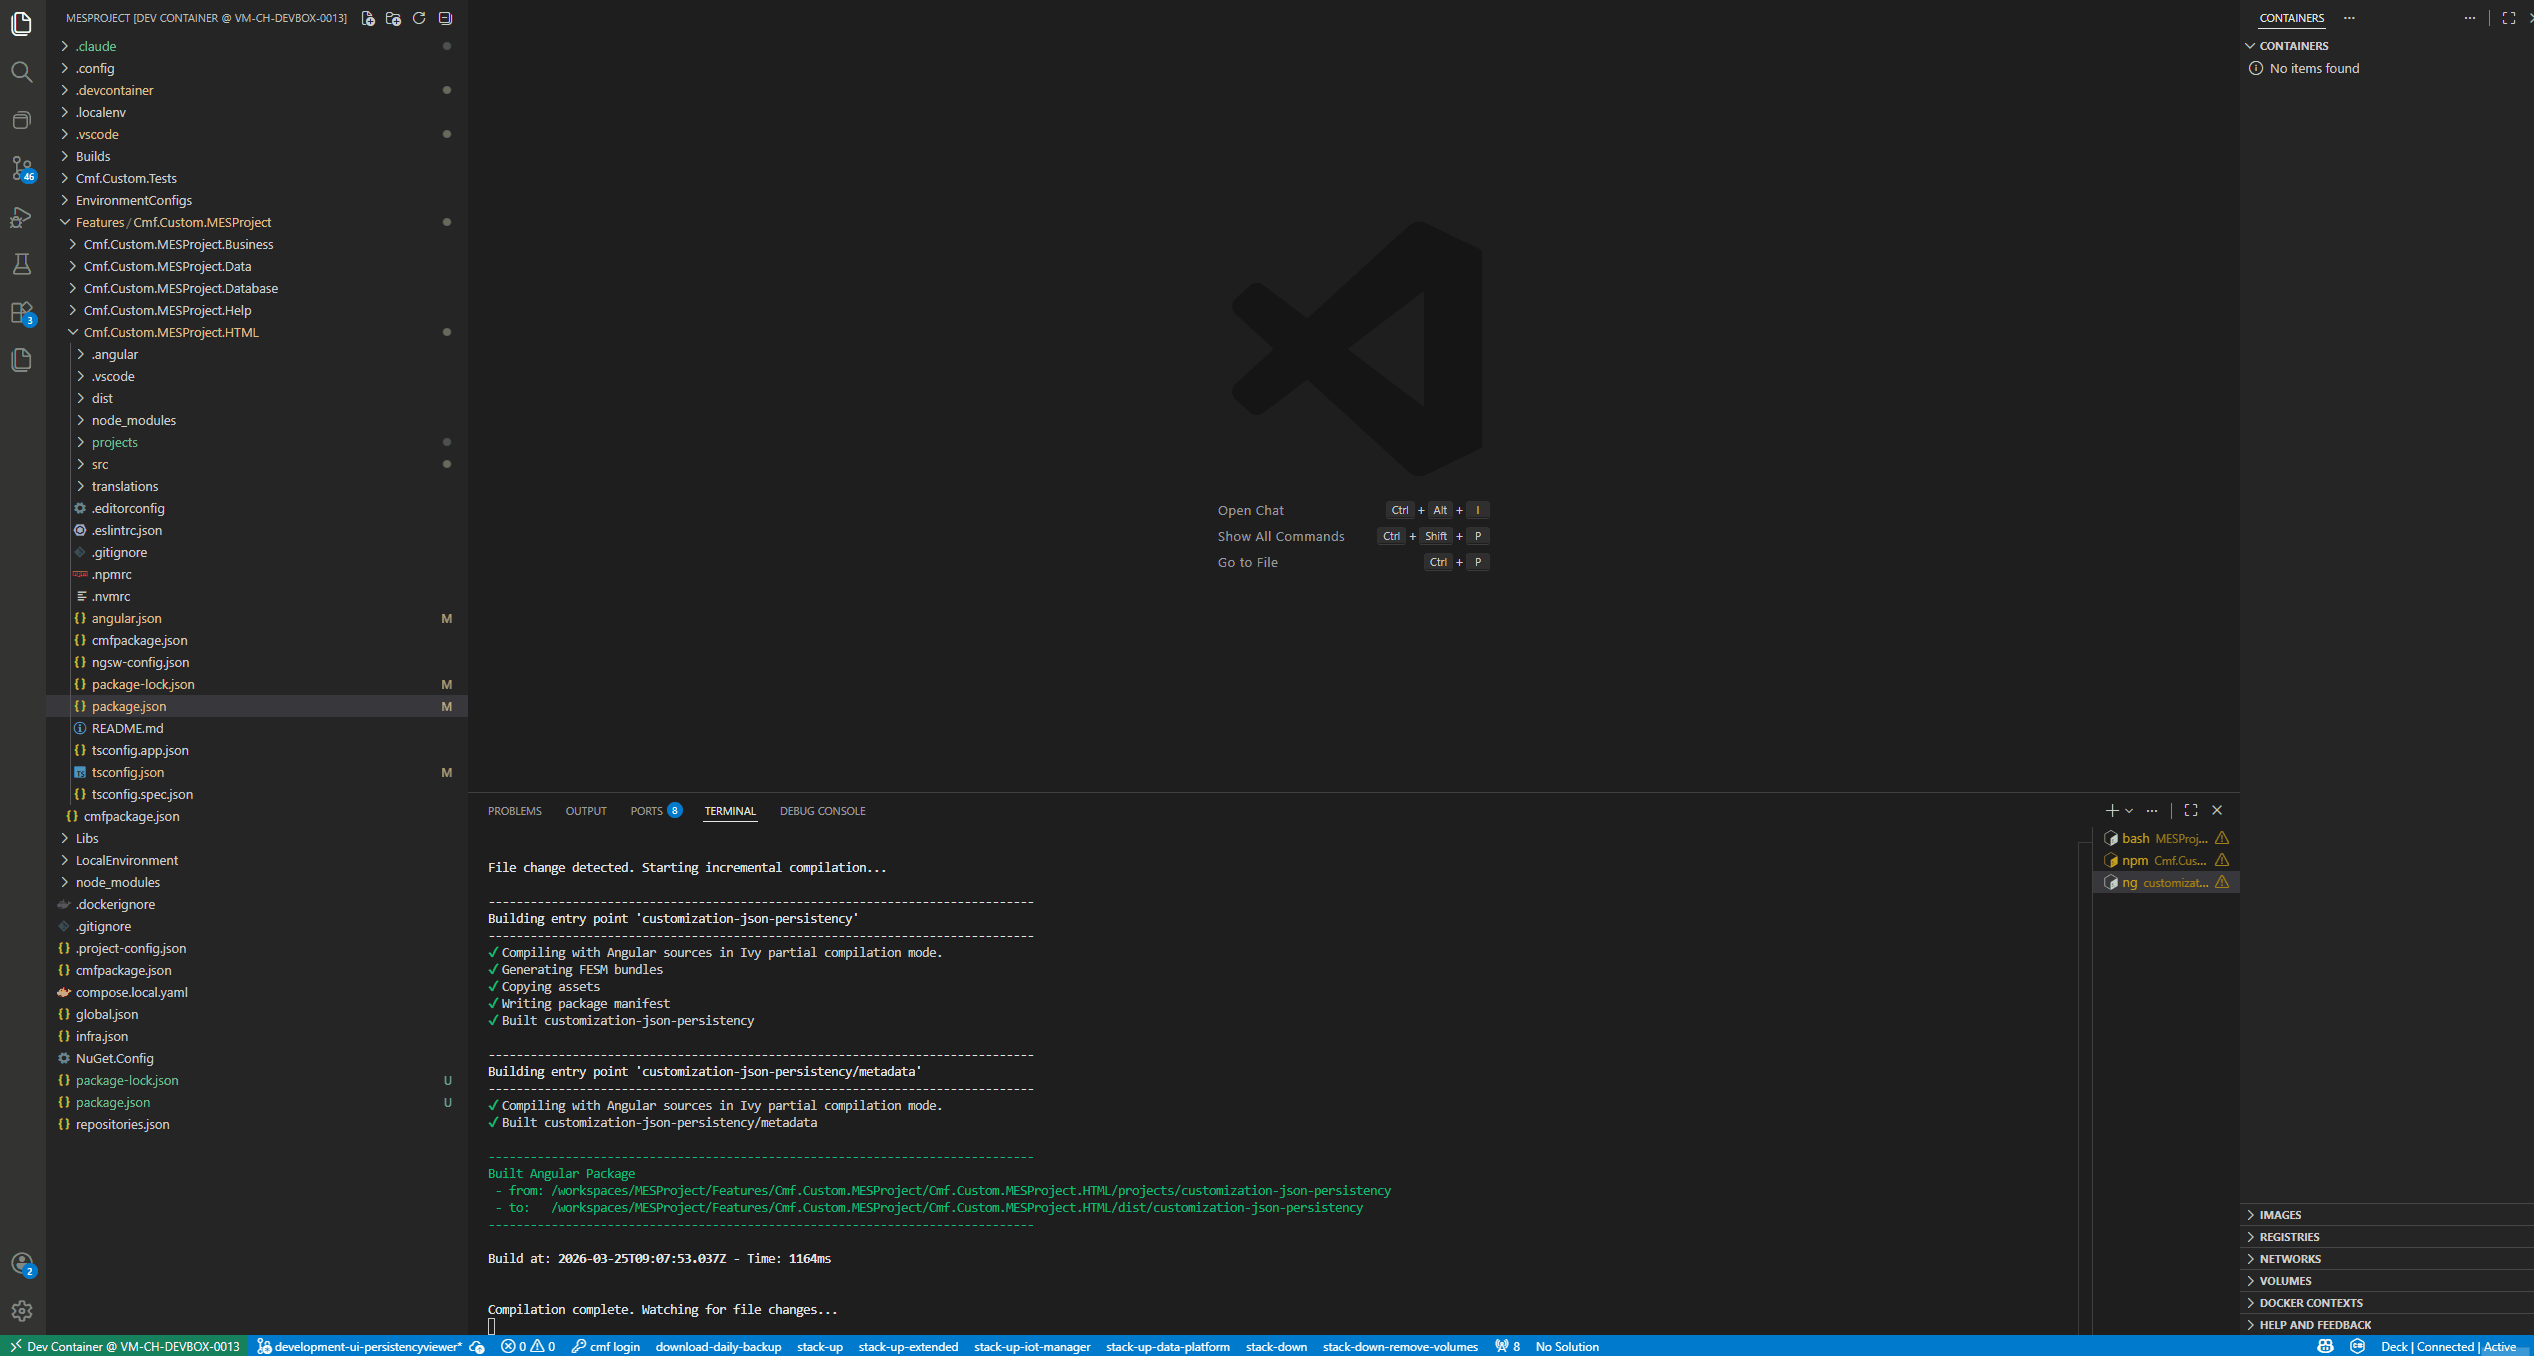
Generating a Library#
Let’s start by generating our library:
ng generate library customization-json-persistency
This command will prepare everything you need in the system to start creating your angular component.
Injecting our Component in the MES UI#
We can now have our custom component always compiling by in our terminal running:
ng build --watch
This command will trigger a recompile whenever there is a change in the code and will notify that UI to rebuild.
In order to inject our component in the MES UI we need to go to the metadata of our library under < your project >/projects/customization-json-persistency/metadata/src/lib/customization-json-persistency-metadata.service.ts . Here we will have a set of different entrypoints to inject and override different components into different parts of the MES application.
In the entityTypes:
  /**
   * Entity Types
   */
  public override get entityTypes(): EntityTypeMetadata[] {
      return [];
  }
We can add our new button to route to our component.
{
  name: 'AutomationControllerInstance',
  views: [{
      id: 'Custom.AutomationControllerInstancePersistencyViewer',
      name: 'Persistency Viewer',
      path: 'persistency-viewer',
      loadComponent: () => import(
          'customization-json-persistency')
          .then(m => m.CustomizationJsonPersistencyComponent),
      type: ViewType.Simple
  }]
}
- name - will match the entity that we wish to override the entity view of
- name in the views - is where we provide the label to show to the user on his selection
- path - is the value that will be used to create the route
- loadComponent - is where we will specify what component to load on button press
- Simple view type - means that the component will be rendered inside of the original page, the Advanced will act like a shortcut button to another page
With just metadata we have the routing for our component done. Now let’s work on building the connection between our component and Connect IoT.
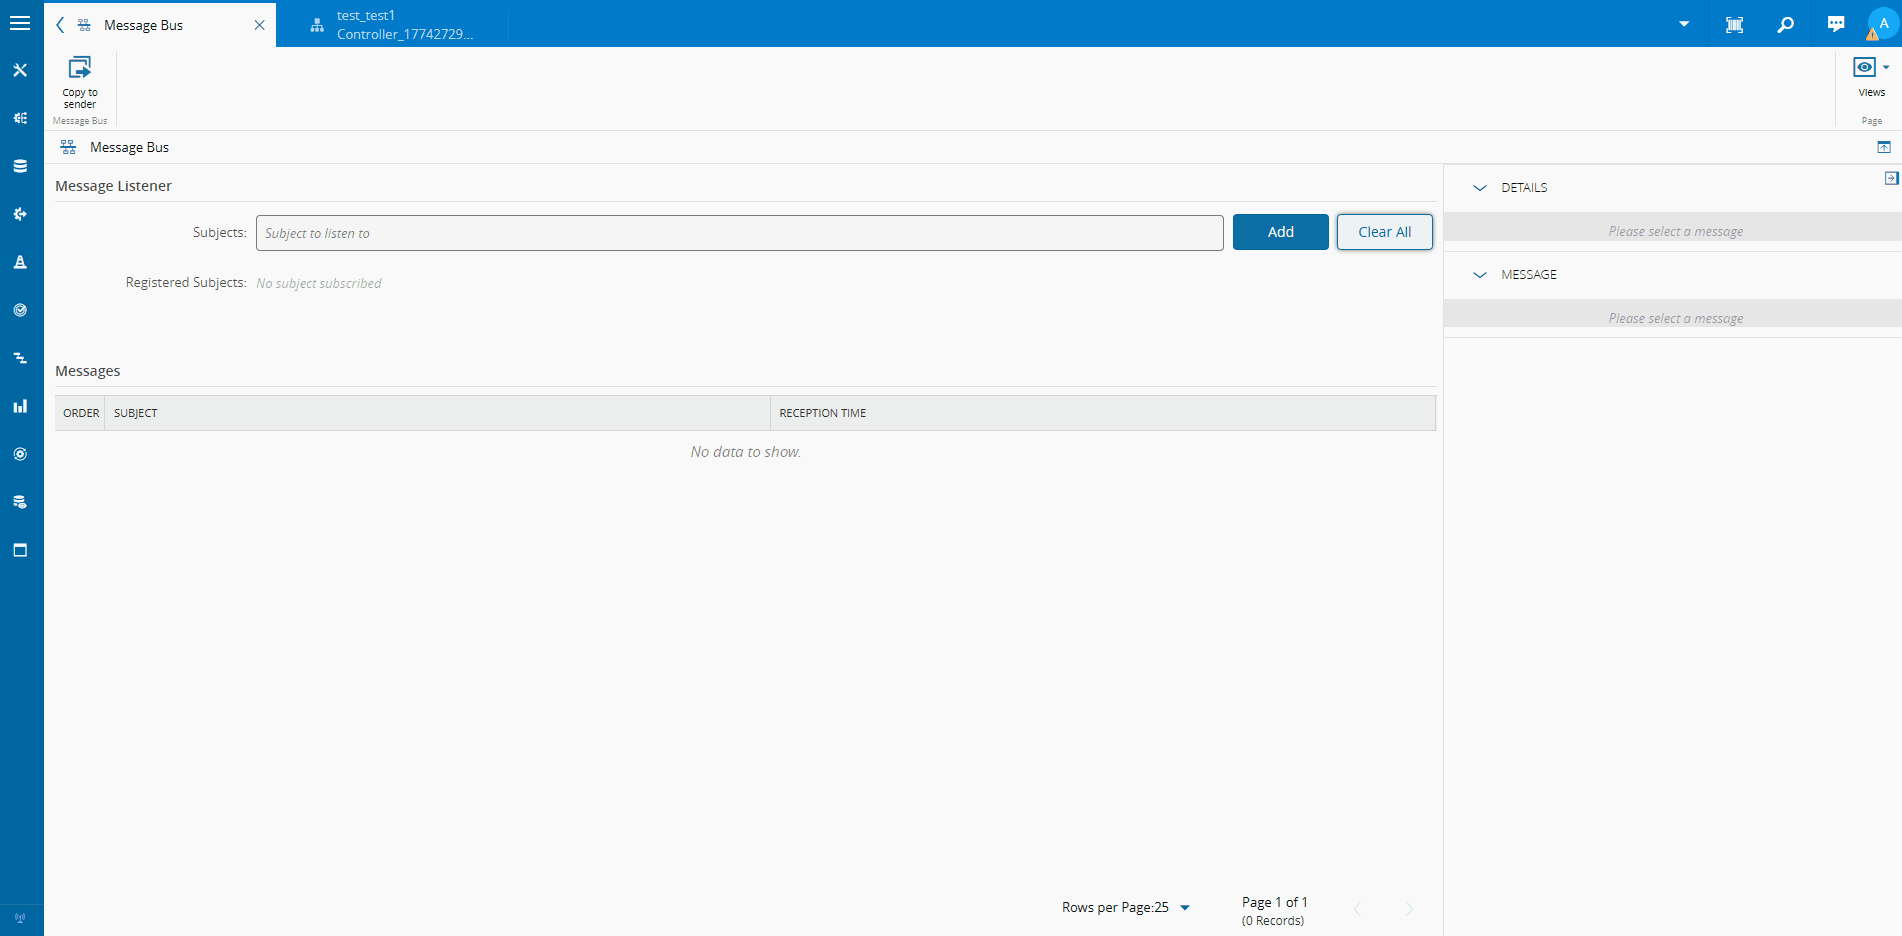
Framework Message Bus System#
There are a set of dependency injection containers the system offer. All of the Services, Data Sources, Controls provided by the CM MES UI framework are available here.
One of the features that we will be using is the ability to send and receive messages from the UI to the Connect IoT layer. This is made possible by the MessageBus Service.
We will query the Connect IoT for all the keys of the persistency.
  import { Component, ElementRef, inject } from '@angular/core';
  import {
    FeedbackService,
    MessageBusService
  } from 'cmf-core';
  import { PageBag } from "cmf-core-controls";

  (...)

  // Angular
  private _elementRef = inject(ElementRef);

  // cmf-core
  private _messageBus = inject(MessageBusService);
  private _feedback = inject(FeedbackService);

  // cmf-core-controls
  private _pageBag = inject(PageBag);
We will first retrieve from the dependency injection all the necessary services.
We are using:
- MessageBus Service - use of the message bus to request information from Connect IoT
- Feedback Service - allows the use of the progress indicator, and displaying messages in the UI
- PageBag Service - interacts with the page, in this case will be to retrieve the page context
Our requirement is that, when the user opens this page we will request information from the Automation Controller Instance.
  private get automationControllerRequestTopic(): string {
    return `CMF.Cmf.Foundation.BusinessObjects.AutomationControllerInstance.${this._pageBag?.context?.id}.SENDREQUEST`;
  }

  public activeListKeys: { name: string }[] = [];

  /**
   * Subscribes to entity load events and fetches persistency keys when context is available.
   */
  public ngOnInit(): void {

    if (this._pageBag?.context?.id) {
      this.retrieveListOfPersistencyKeys();
    }
  }
  /**
   * Retrieves the list of available persistency keys for the current context.
   */
  private async retrieveListOfPersistencyKeys() {
    this._feedback.startProgressIndicator(this._elementRef);
    this._messageBus
      .sendRequest(
        this.automationControllerRequestTopic,
        {
          "type": "GetPersistencyKeyList",
          "data": "Request"
        },
        this._timeout
      )
      .then((result) => {
        this._feedback.stopProgressIndicator(this._elementRef);
        this.activeListKeys = JSON.parse(result.Data).map((key: string) => { return { name: key } });
      })
      .catch((e) => {
        this._feedback.stopProgressIndicator(this._elementRef);
        throw new Error(
          $localize`:@@customization-json-persistency/customization-json-persistency#feedback.error:No Message Received with Persistency Key List: ${e}`
        );
      });
  }
We are using the sendRequest method, to enforce that we must have a reply.
Publish, which is a fire-and-forget notification and a SendRequest which waits for the first reply in a set amount of time.The topic that we are using to send a message in the message bus is constructed from the controller instance and then the specific message topic GetPersistencyKeyList.
Now we will start an instance to run and talk with our UI. We can achieve that, by running a manager locally in our stack.
VSCode tasks - stack-up-iot-manager
When starting it will ask which manager we wish to spun up and we can provide the manager name.
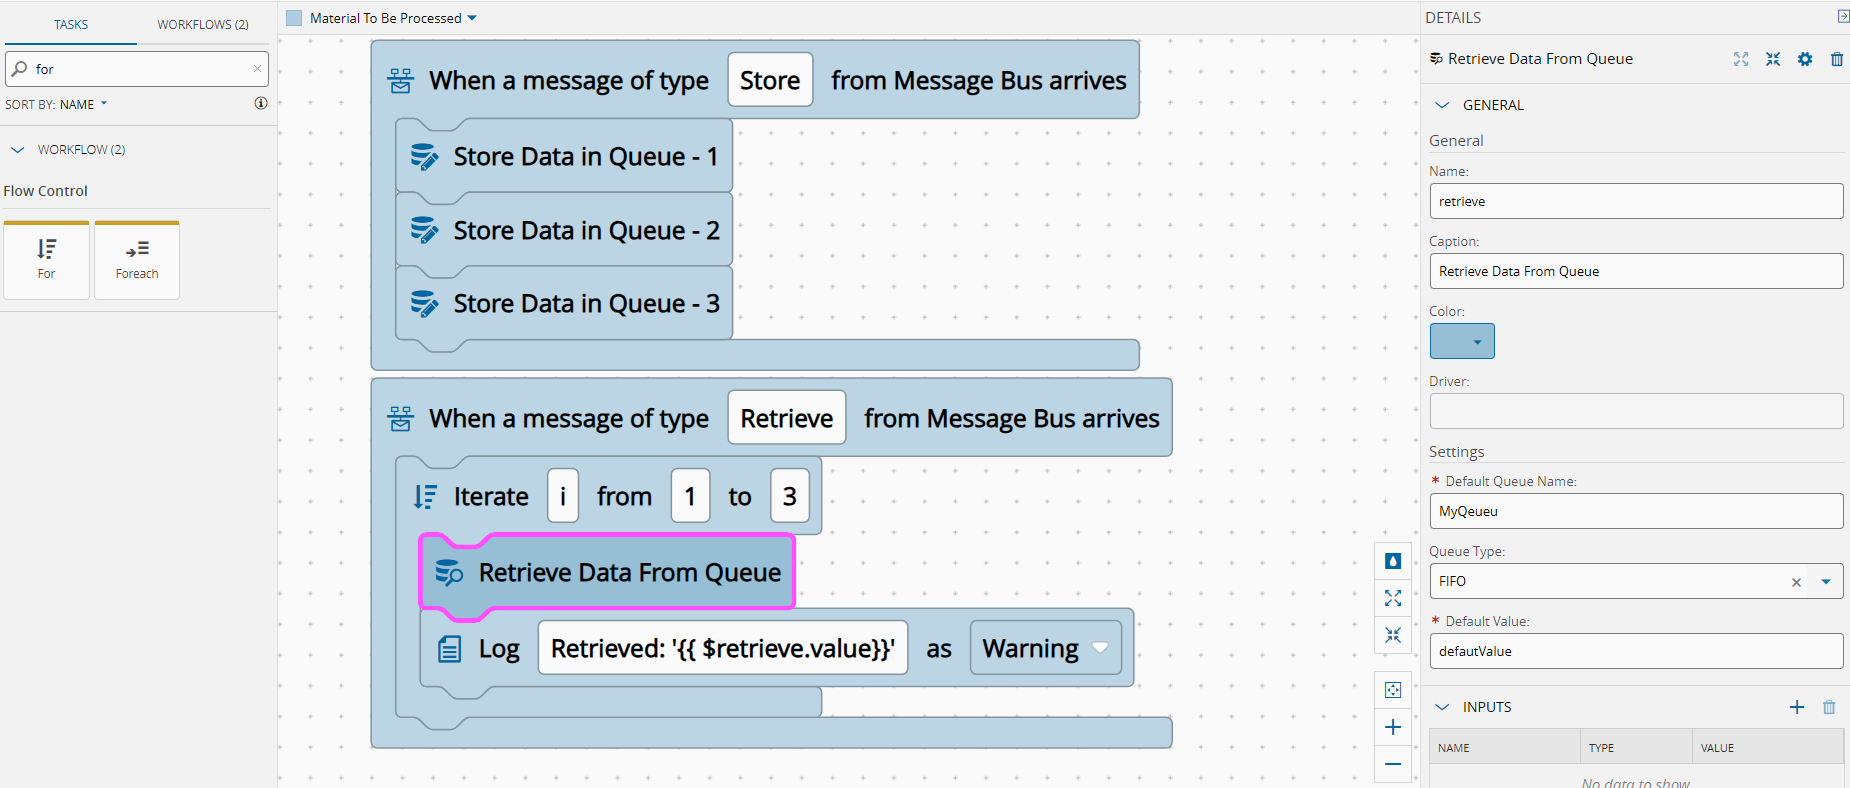
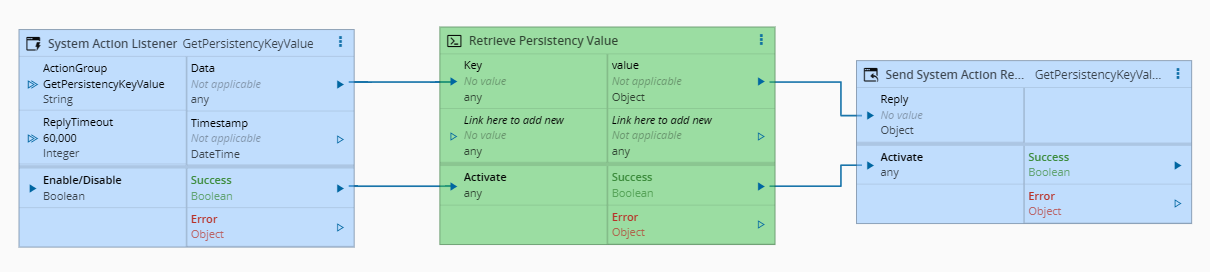
In Connect IoT, we create a low code workflow that subscribes to this topic and retrieves all keys from the persistency.

Now the UI is able to retrieve the list information from Connect IoT.
Selection Component#
One of the more versatile component offered by the CM UI framework is the Property Editor. It handles most of the rendering of elements from primitive elements like numbers and strings to more complex, enumerations and search of entities.
In the design system we have demos setup for the most common use components where you can see how to use them and have a playground.
Adding to our custom component.
(...)
import { PropertyEditorModule } from 'cmf-core-business-controls';

@Component({
  selector: 'lib-customization-json-persistency',
  standalone: true,
  imports: [CommonModule, PropertyEditorModule, CodeEditorModule],
  templateUrl: `./customization-json-persistency.component.html`,
  styleUrls: ['./customization-json-persistency.component.less']
})
(...)
We want a ComboBox view where we can choose from a list of items.
- data with value activeListKeys - is where we will store an array of objects with a property name
- dataNameField - will select a property from the array of objects to use as a label to show to the user
- valueChange - will be triggered on value changed and will run the method onControlValueChange
- value - will hold the value of the latest change
  <cmf-core-business-controls-propertyEditor
      label="Persistency Key"
      placeholder="select persistency key..."
      nestedEditorType="ComboBox"
      dataNameField="name"
      [data]="activeListKeys"
      [value]="selectedKey"
      (valueChange)="onControlValueChange($event)">
  </cmf-core-business-controls-propertyEditor>
Now we have a component that is being populated by the automation layer.
Pushing Values to the Automation Layer#
The onControlValueChange is performing some formatting and storing the value on an editedValue variable.
When in the first propertyEditor a value is selected it will populate the value of the second propertyEditor. The second propertyEditor is a simple Input. The button is responsible for calling a method saveKeyValue and send the new value to the IoT layer.
  <cmf-core-business-controls-propertyEditor
      label="Persistency Key"
      placeholder="select persistency key..."
      nestedEditorType="ComboBox"
      dataNameField="name"
      [data]="activeListKeys"
      [value]="selectedKey"
      (valueChange)="onControlValueChange($event)">
  </cmf-core-business-controls-propertyEditor>

  <cmf-core-business-controls-propertyEditor
      label="Value"
      nestedEditorType="Input"
      [value]="editedValue"
      (valueChange)="onEditorValueChange($event)">
  </cmf-core-business-controls-propertyEditor>
  <button class="cmf-btn"
          (click)="saveKeyValue()"
          data-tag='jsonpersistency.saveButton'>Save</button>
/**
* Persists the current edited value for the selected key.
*/
public async saveKeyValue(): Promise<void> {
if (!this.selectedKey) {
return;
}
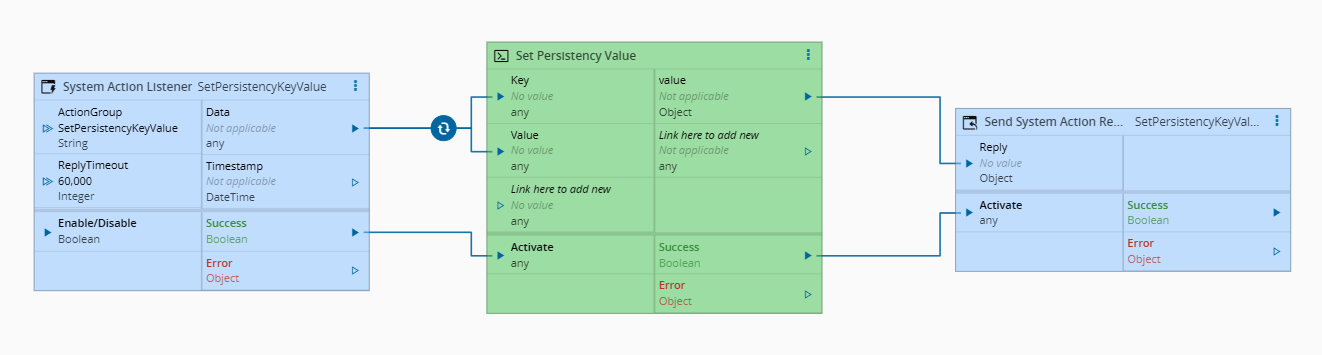
// send a message bus message to persist the edited value for the selected key
await this._feedback.progressIndicator(this._elementRef,
this._messageBus.sendRequest(
this.automationControllerRequestTopic,
{
"type": "SetPersistencyKeyValue",
"data": JSON.stringify({ key: this.selectedKey.name, value: this.editedValue })
},
this._timeout
));
}

It’s often the case we store not just primitive values, but also complex objects. The propertyEditor is flexible enough to be able to address even those more complex scenarios with the use of the nestedEditorType CodeEditor.
  <cmf-core-business-controls-propertyEditor
      label="Persistency Key"
      placeholder="select persistency key..."
      nestedEditorType="ComboBox"
      dataNameField="name"
      [data]="activeListKeys"
      [value]="selectedKey"
      (valueChange)="onControlValueChange($event)">
  </cmf-core-business-controls-propertyEditor>

  <cmf-core-business-controls-propertyEditor
      class="json-editor"
      [required]="false"
      [(value)]="editedValue"
      (valueChange)="onEditorValueChange($event)"
      nestedEditorType="CodeEditor"
      #codeEditor>
  </cmf-core-business-controls-propertyEditor>
  <button class="cmf-btn"
          (click)="saveKeyValue()"
          data-tag='jsonpersistency.saveButton'>Save</button>

Intercepting the Refresh Button#
An interesting part of what we are doing is how we are using the refresh button to also reset our components.
We are able to reuse the refresh button by intercepting the epEntityLoaded event.
  /**
   * Subscribes to entity load events and fetches persistency keys when context is available.
   */
  public ngOnInit(): void {

    this._entityPage.epEntityLoaded.subscribe(() => {
      this.resetView();
    });

    if (this._pageBag?.context?.id) {
      this.retrieveListOfPersistencyKeys();
    }
  }

  /**
   * Releases the entity loaded subscription to prevent leaks.
   */
  public ngOnDestroy(): void {
    this._entityPage.epEntityLoaded.unsubscribe();
  }
Prettifying It#
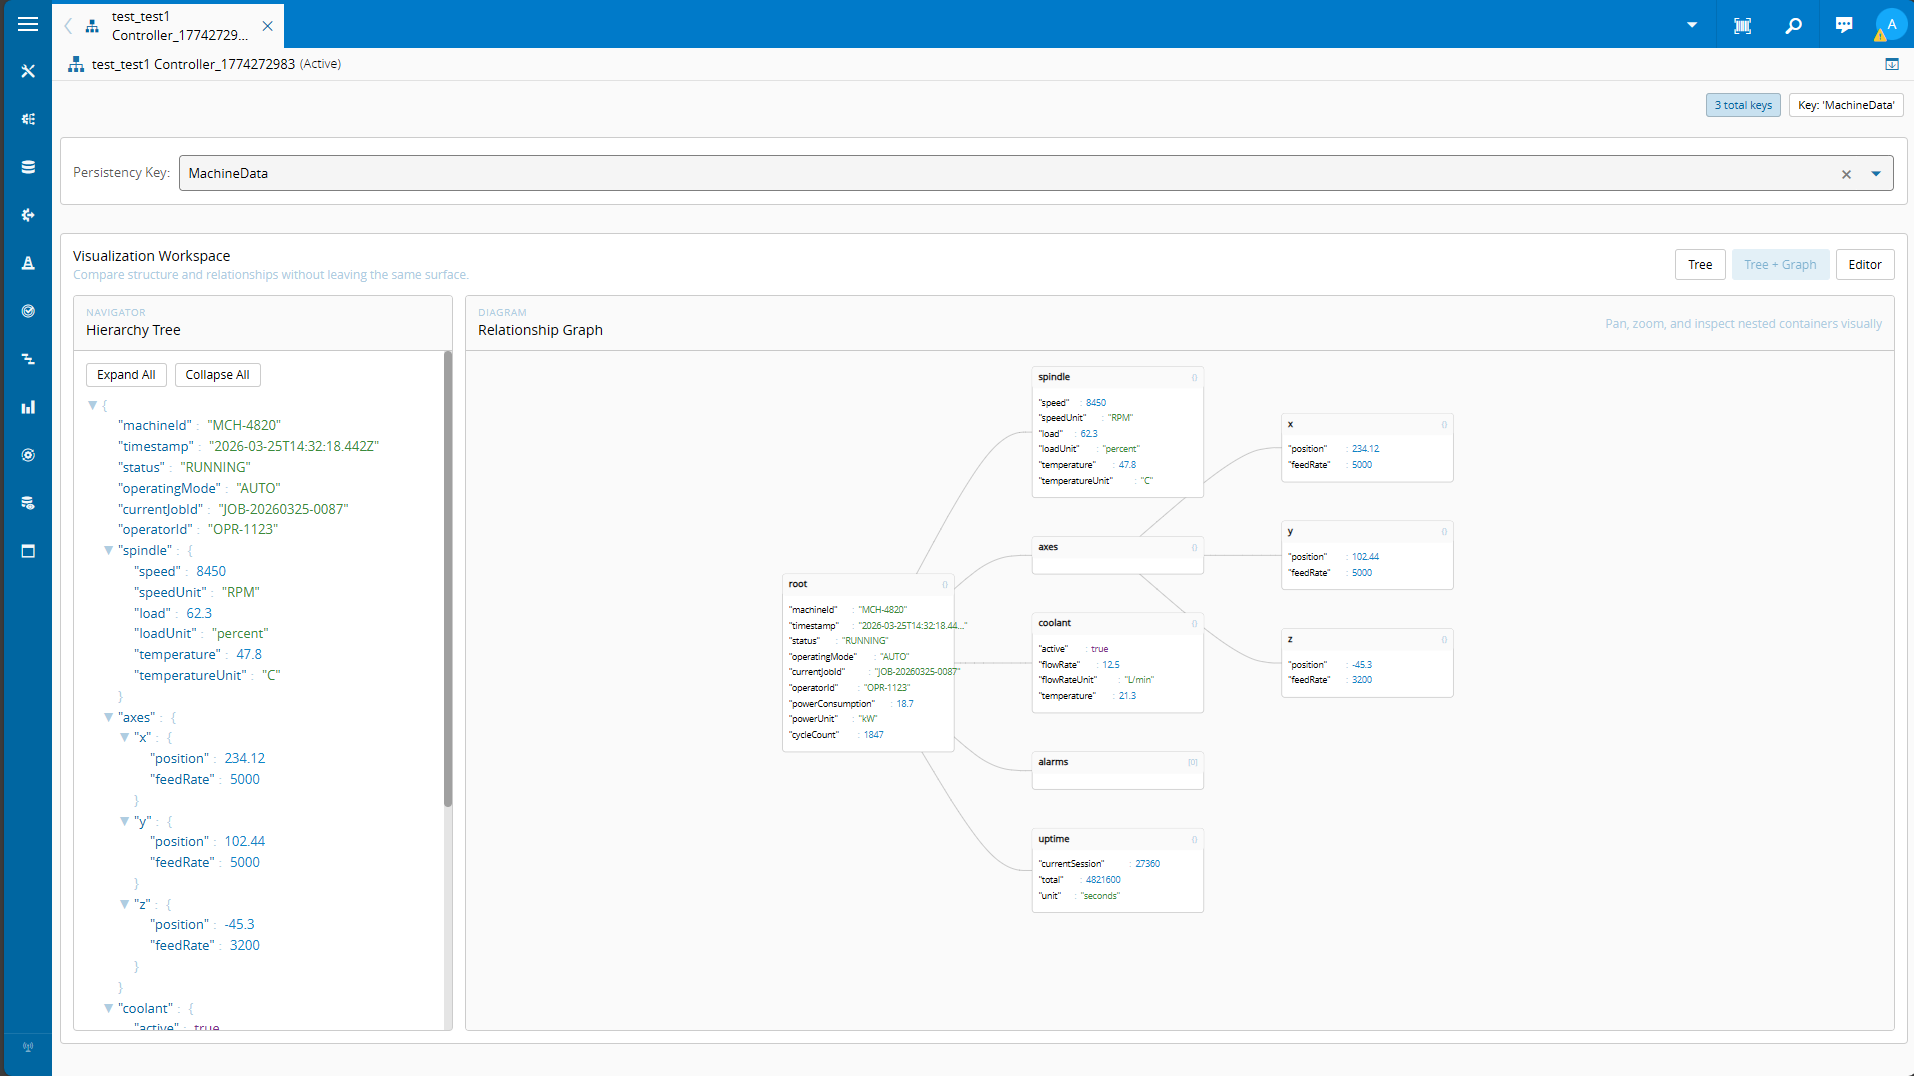
After getting all these building blocks the rest becomes easy. We created a component to render the json in a Tree view and in a Graph view using ngx-graph. Then we added some html and css to make it all have a similar look and feel as the CM MES UI and that’s how we get our final UI.
If you want to dig in the details you can check the jsonTree and the jsonGraph.
For them to be usable in our component we add them as inputs of our custom component.
@Component({
  selector: 'lib-customization-json-persistency',
  standalone: true,
  imports: [CommonModule, PropertyEditorModule, CodeEditorModule, JsonTreeViewerComponent, JsonGraphViewComponent],
  templateUrl: `./customization-json-persistency.component.html`,
  styleUrls: ['./customization-json-persistency.component.less']
})
Final Thoughts#
In this blog post we showed how you can spin up a local environment and started using the CM UI framework to build complex scenarios leveraging out of the box components.
From my view, It’s amazing how the system allows for such a deep level of extension with entrypoints for custom buttons, pages and wizards. This is all done by a backend developer, so If I can do it, I am sure anyone can.
I am excited to see what people think of next!