In the last blog post we took some time assembling brick-by-brick a customization driver in Connect IoT. We choose to create a driver for MTConnect a common standard for CNC Machines.
The full implementation can be found here.
Overview#
In this blog post the goal will be to join two previous posts:
This will be a very simple and to the point, entry on how you can create your low code workflows and quickly create simple and easy to run tests.
Creating Some Workflows#
Even though the test tool supports all kinds of cases, we just want to focus on testing MTConnect in very simple flows. So let’s create some simple workflows
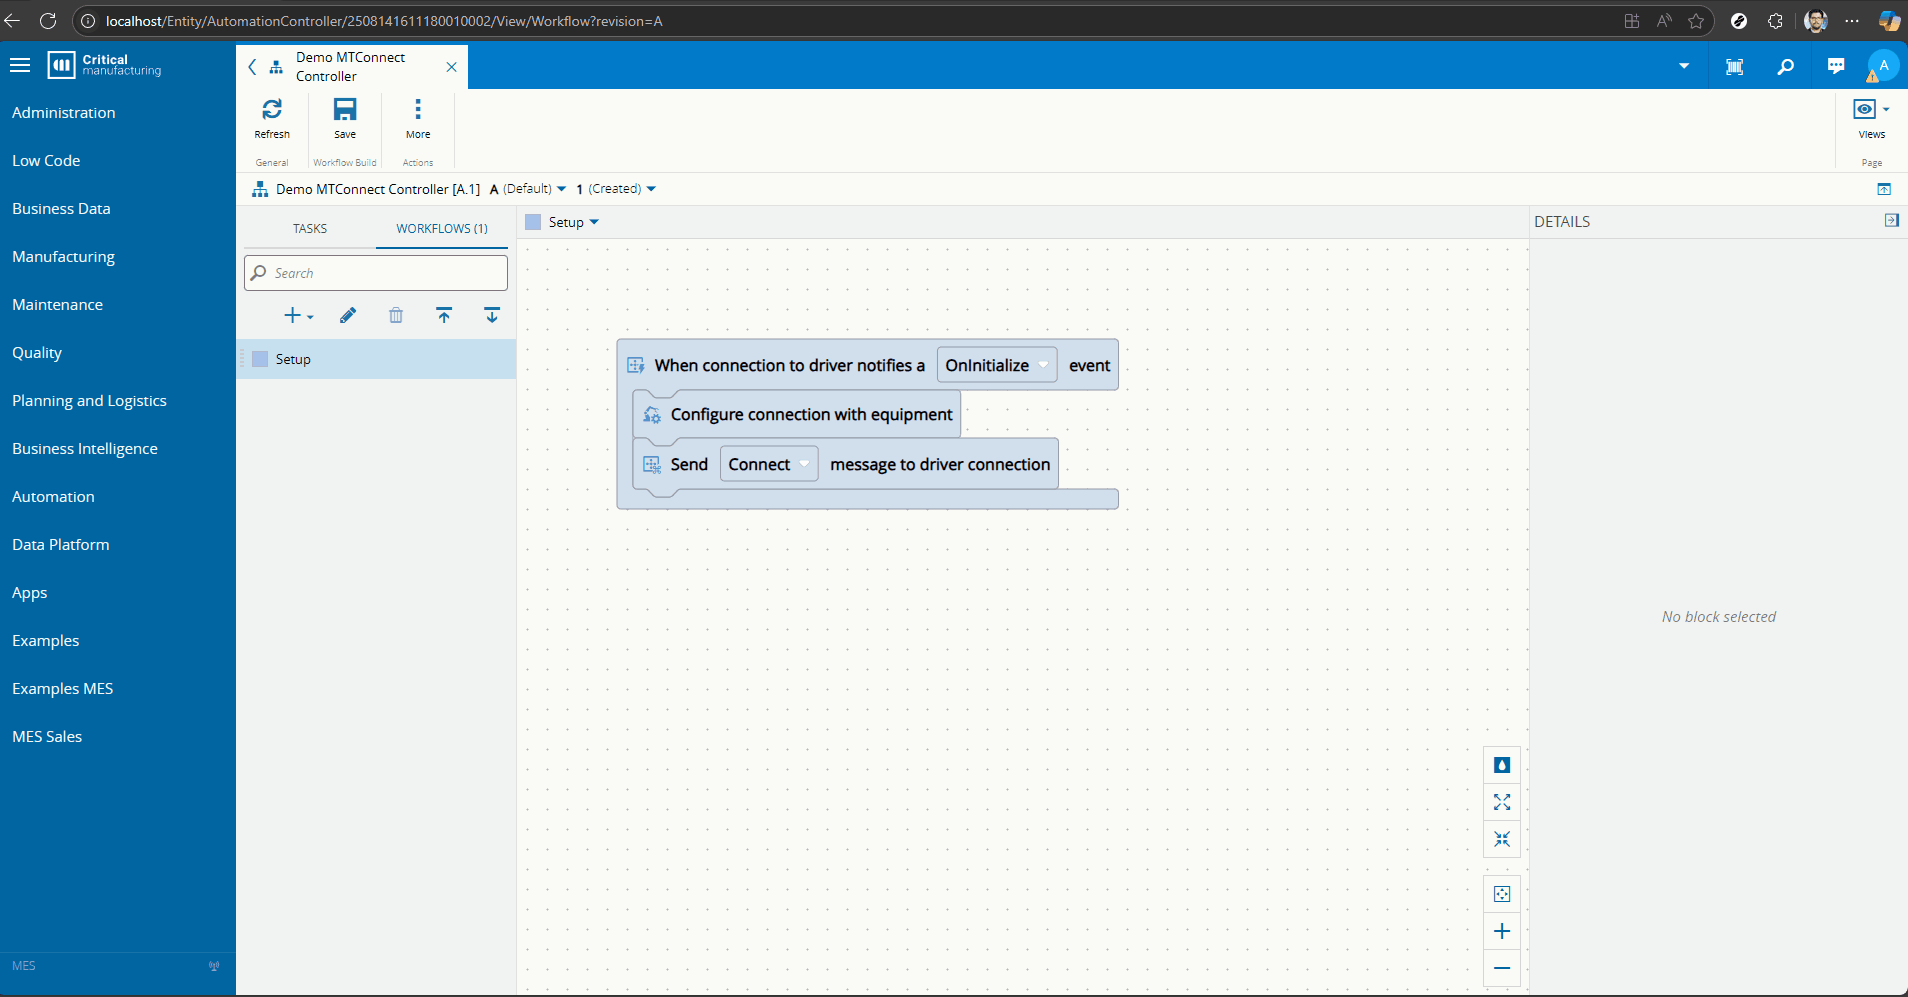
Setup#
Here we will use the templated setup workflow.
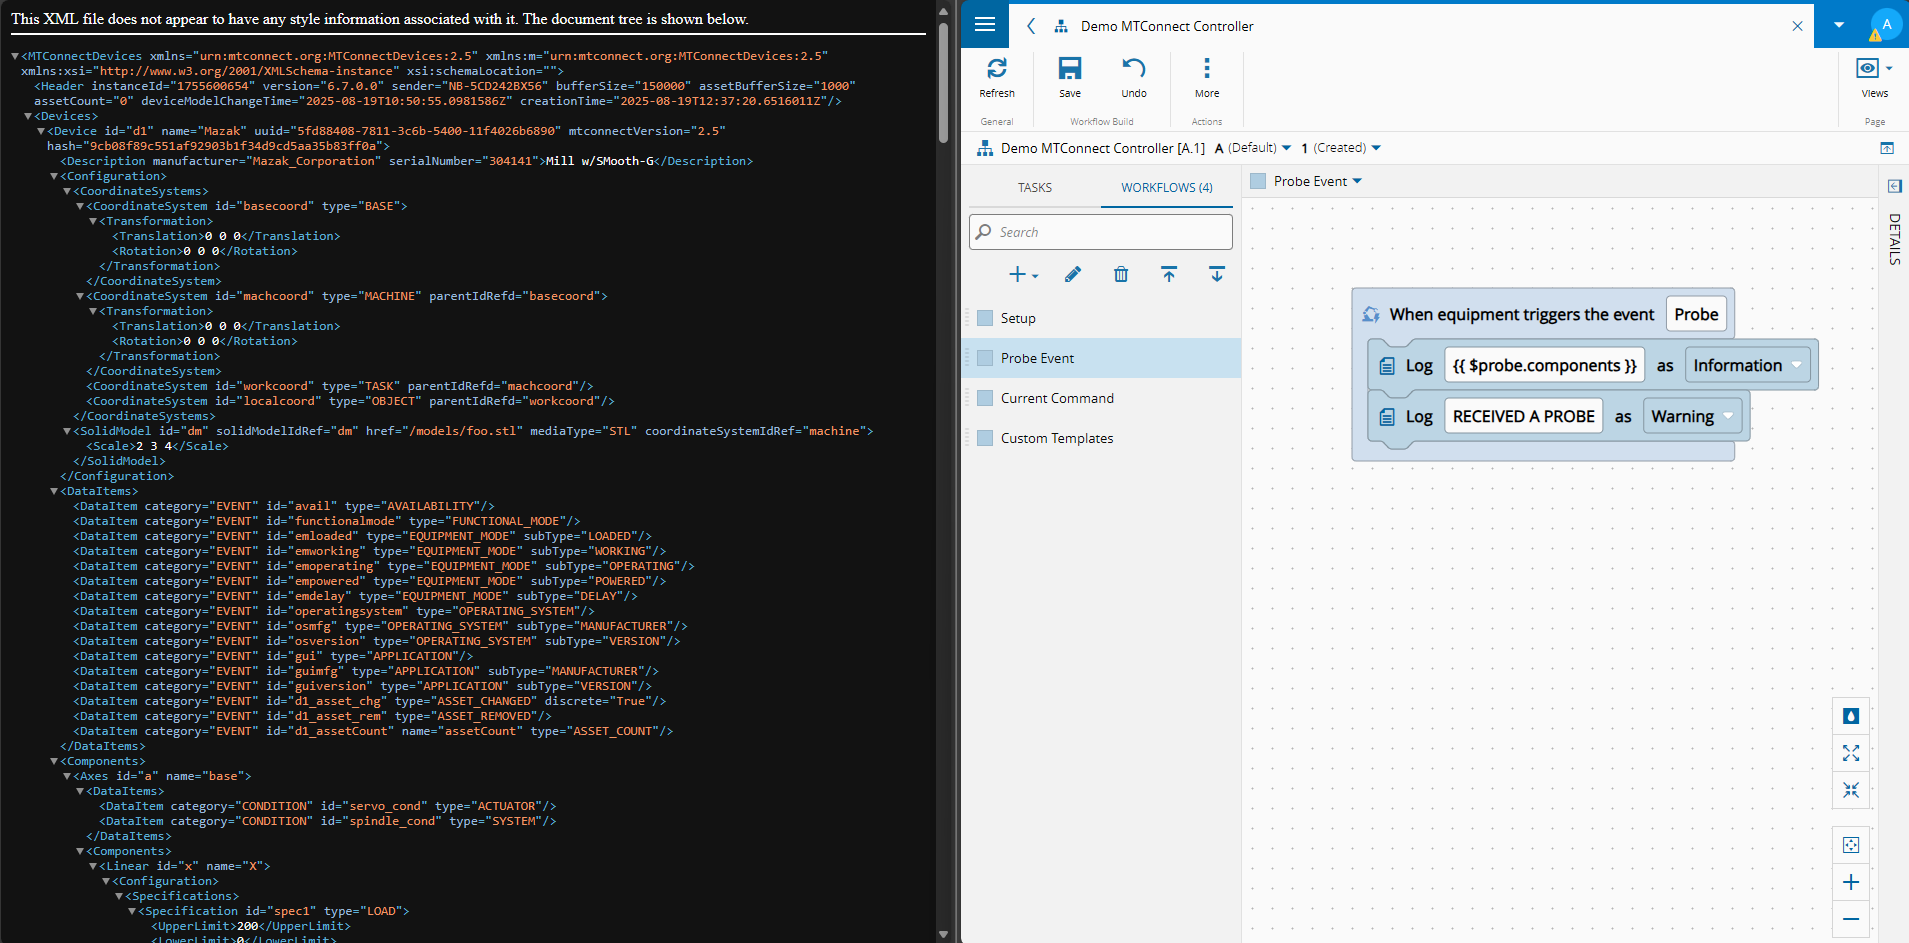
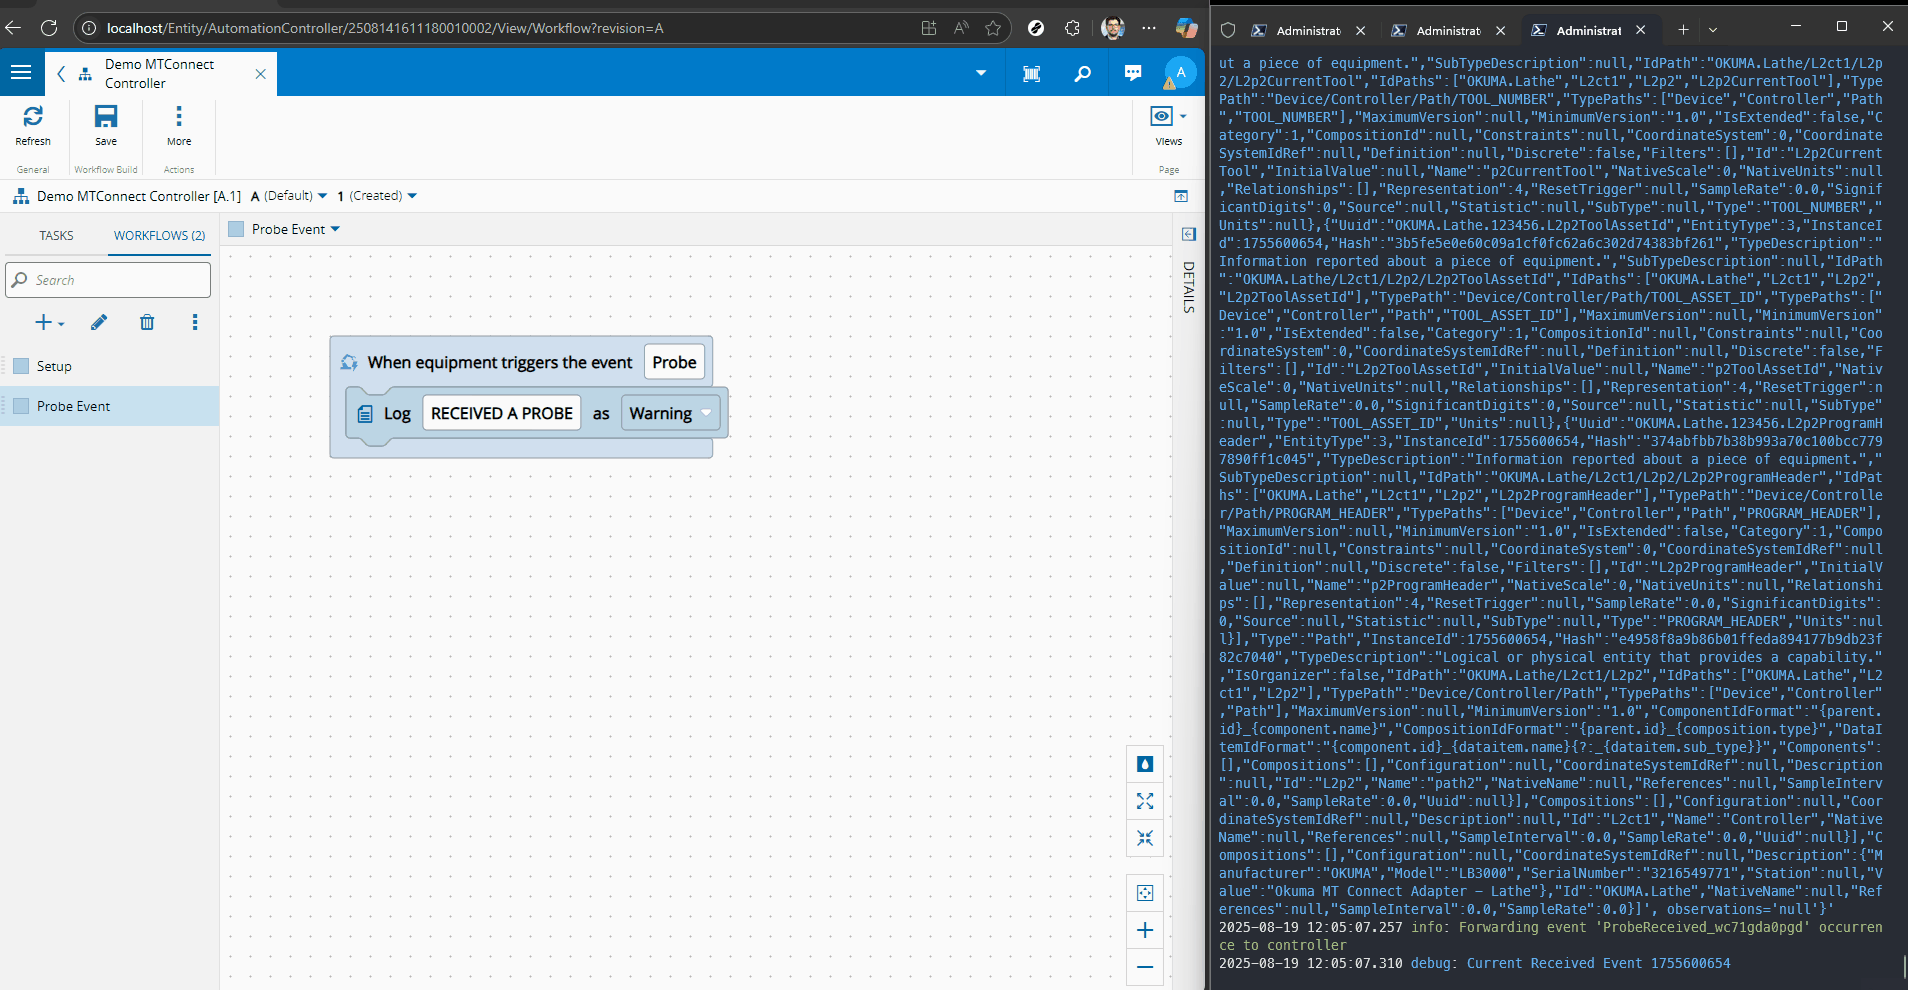
Probe Event#
Current Command#
Now we have some very simple workflows, but how can we run build tests for them? Do we need a live system to run our tests? Let’s try and answer all these questions.
IoT Test Orchestrator#
CM provides a library to create tests for low code Connect IoT workflows, the IoT Test Orchestrator. With this library we can leverage existing plugins for equipment simulators or leverage existing simulators. The MTConnect client is essentially a REST Client that has known APIs.
Fortunately, the IoT Test Orchestrator already provides a REST Server simulator, so we don’t need to create a simulator plugin from scratch.
Exporting the Integration from the MES#
In the Automation Controller view we can export not only the Automation Controller but also all entities that it depends on, like Automation Driver Definitions and Automation Protocols.
After exporting we can include it in our CLI IoT Data Package.
Preparing the Test Workspace#
In our test solution we can now add all the nugets of the Test Orchestrator:
- Cmf.ConnectIoT.TestOrchestrator.Core.LBOs
- Cmf.ConnectIoT.TestOrchestrator.Core.ScenarioBuilder
- Cmf.ConnectIoT.TestOrchestrator.Plugin.Simulator.RestServer
- Cmf.ConnectIoT.TestOrchestrator.Plugin.StartMode.Local
- Cmf.ConnectIoT.TestOrchestrator.Plugin.System.MockSystem
Personally, I like to add my Master Data with a link, but there are several other ways.
In the csproj add our implementation Master Data.
<ItemGroup>
  <None Include="../../Cmf.Custom.IoT/Cmf.Custom.IoT.Data/Masterdata/**" CopyToOutputDirectory="Always" />
</ItemGroup>
Creating a Test Scenario#
Our goal for this test is to be able to run tests of our low code implementation without any live MES System (the tool also supports tests with a live MES System). In order to configure our tool we need to build our test scenario.
The first important part of the configuration is defining how our Automation Manager for this test will behave. All of the configurations are defined here. For this test we will define a ManagerId and a place to store our packages cache.
this.configuration = new ScenarioConfiguration()
  .ManagerId("MTConnectManager")
  //.WriteLogsTo(@"C:\IoT\logs.txt")
  .Config(new Common.Objects.Config.ConfigBuilder()
      .CacheLocation(Path.GetTempPath())
      .Build())
The start mode will define how the Automation Manager will start. With the local start mode plugin the manager will receive a repository (or a package location) and will download the manager specified, untar it and run it.
For my test I used a local drive, but it also supports network drives.
private const string PACKAGES_LOCATION = @"c:\IoT\Repository";
private const string MANAGER = @"criticalmanufacturing-connect-iot-manager-11.1.7-dev.tgz";

(...)
  .StartMode<LocalStartMode.PluginMain>(new LocalStartMode.Plugin.SettingsBuilder()
      .ManagerLocation(Path.Join(PACKAGES_LOCATION, MANAGER))
      .Build())
The system plugin will mock all CM’s required components like the CM MES and the message bus. It will receive a master data configuration and create a mirror MES system.
We can pass all our information via master data or also leverage our builder for some entities.
In Connect IoT it is common to provide definitions to the customer and not instances, so we can leave that part to the test, also true for MES modeling.
We are also randomizing the port, just to avoid test concurrency.
var masterdata = @"1.0.0/DemoMTController.json";
var port = new Random().Next(5000, 30000);
File.WriteAllText(masterdata, File.ReadAllText(masterdata).Replace("5000", port.ToString()));

(...)
  .SystemPlugin<MockSystem.PluginMain>(new MockSystem.Plugin.SettingsBuilder()
      .Repository(PACKAGES_LOCATION)
      .MasterdataPath(masterdata)
      .AddSite("TestSite")
      .AddManager("MTConnectManager")
      .AddControllerInstance("Demo MTConnect Controller [A.1]", "MTConnectManager", "TestSite")
      .AddDriverInstance("Demo MTConnect Controller [A.1]", "MTConnect", "MTConnectManager", "TestSite")
      .Build())
Finally, we can create the configuration for our test simulator. The REST Server has a very interesting feature, a REST request mapping recorder. We can set the test with the mapping recorder and then mapped all the required APIs, let’s see how to do that.
(...)
  .AddSimulatorPlugin<RestServer.PluginMain>(new RestServer.Plugin.SettingsBuilder()
      .Address("http://127.0.0.1", port)
      .ServerSettings(new WireMock.Settings.WireMockServerSettings()
      {
          StartAdminInterface = true,
          ProxyAndRecordSettings = new WireMock.Settings.ProxyAndRecordSettings()
          {
              ProxyAll = true,
              Url = "http://localhost:5000",
              SaveMapping = true,
              SaveMappingToFile = true,
              AllowAutoRedirect = true,
          }
      })
      .Build());
In the ServerSettings we start the admin interface and the recorder, then we route all my traffic to the MTConnect TrackHound agent we used for development. Now we can get all the mappings generated by the boot up cycle of the driver.
Now, we can see all the requests that we need to map. For our tests we need to map the Probe Requests and the Current Request.
  private static SystemReply DefaultProbeReply()
  {
      var reply = new SystemReply(200, "<MTConnectDevices>(...)/MTConnectDevices>");
      reply.Headers.Clear();
      reply.Headers.Add("Content-Type", "application/xml");
      return reply;
  }

  private static SystemReply DefaultCurrentReply()
  {
      var reply = new SystemReply(200, "<MTConnectStreams>(...)/MTConnectStreams>");
      reply.Headers.Clear();
      reply.Headers.Add("Content-Type", "application/xml");
      return reply;
  }
Creating a Test for the Probe Event#
Remember that our workflow for the probe event was very simple. We are just logging a message RECEIVED A PROBE when we receive a probe event in the On Equipment Event.
The test is also very simple, we register our probe event to check if a request is received and to provide a demo reply.
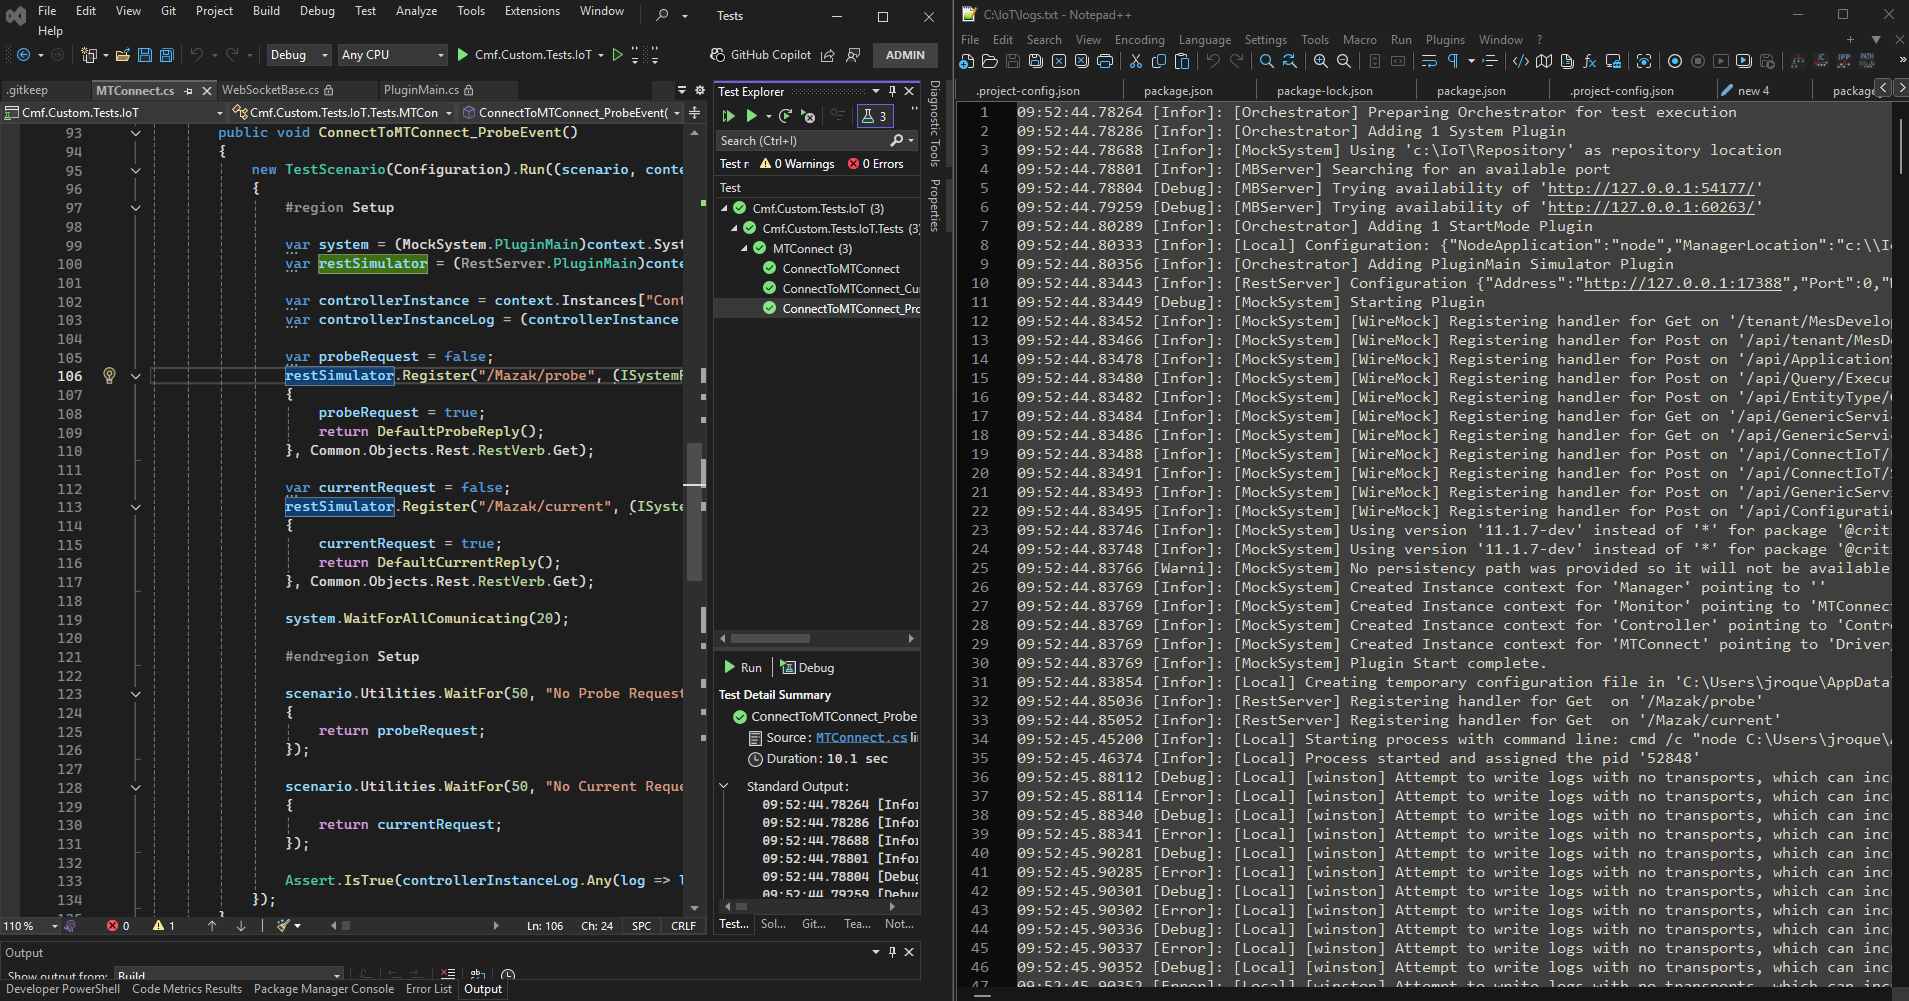
[TestMethod]
public void ConnectToMTConnect_ProbeEvent()
{
    new TestScenario(this.configuration).Run((scenario, context) =>
    {
        #region Setup

        var system = (MockSystem.PluginMain)context.System;
        var restSimulator = (RestServer.PluginMain)context.Simulators["RestServer"];

        var controllerInstance = context.Instances["Controller"] as IControllerInstanceContext;
        var controllerInstanceLog = (controllerInstance as IInstanceContext).Log;

        var probeRequest = false;
        restSimulator.Register("/Mazak/probe", (ISystemRequest request) =>
        {
            probeRequest = true;
            return DefaultProbeReply();
        }, Common.Objects.Rest.RestVerb.Get);

        system.WaitForAllComunicating(20);

        #endregion Setup

        scenario.Utilities.WaitFor(50, "No Probe Request Was called", () =>
        {
            return probeRequest;
        });

        Assert.IsTrue(controllerInstanceLog.Any(log => log.Contains("RECEIVED A PROBE")));
    });
}
Creating a Test for Execute Command for Current API#
This test is also similar. In a particular polling time, the workflow will execute an equipment command and log the outcome. For this test we will register our default reply for the current api and validate that the log was logged correctly.
[TestMethod]
public void ConnectToMTConnect_CurrentCommand()
{
    new TestScenario(this.configuration).Run((scenario, context) =>
    {
        #region Setup

        var system = (MockSystem.PluginMain)context.System;
        var restSimulator = (RestServer.PluginMain)context.Simulators["RestServer"];

        var controllerInstance = context.Instances["Controller"] as IControllerInstanceContext;
        var controllerInstanceLog = (controllerInstance as IInstanceContext).Log;

        restSimulator.Register("/Mazak/current", (ISystemRequest request) =>
        {
            return DefaultCurrentReply();
        }, Common.Objects.Rest.RestVerb.Get);

        system.WaitForAllComunicating(20);

        #endregion Setup

        scenario.Utilities.WaitFor(50, "No Current Request Was called", () =>
        {
            var msg1 = controllerInstanceLog.Any(log => log.Contains("Current Command|task_1934|equipmentCommand] Successfully executed request command 'connect.iot.driver.template.executeCommand' with Message 'CurrentCommand'."));
            var msg2 = controllerInstanceLog.Any(log => log.Contains("Current Command|task_1979|logMessage] {\"Header\":{\"InstanceId\":1756395673"));
            return msg1 && msg2;
        });
    });
}
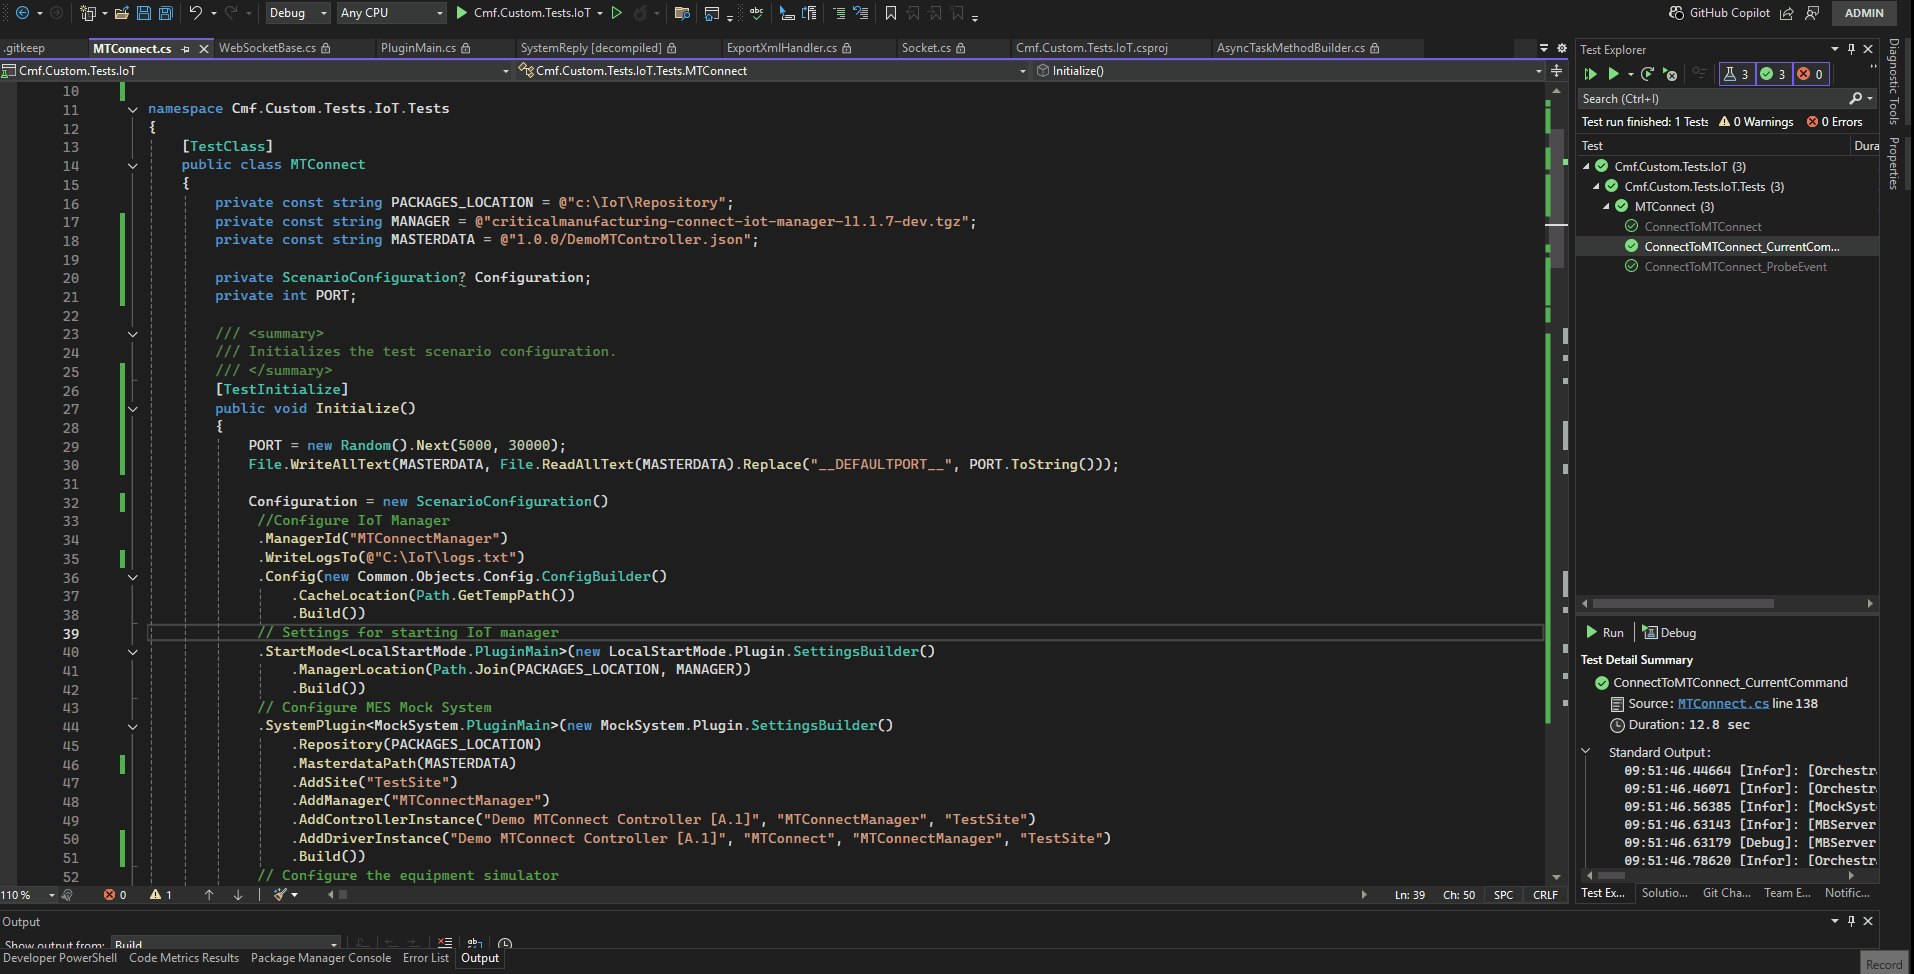
Now we can run all our tests.
Note that with the WriteLogsTo configuration enabled we are able to see live what the test is doing and intercept logs from all components. This is very helpful to troubleshoot any issue.
Final Thoughts#
With this example we are able to not just build an MTConnect driver, but start testing our project workflows all with minimal effort.