This blog post will be part of a series of blog posts where we show case an example of how we can use a third party dependency like SQLite in our Connect IoT code. For this first blog post I will show how you can create customization and how you can prepare a development workspace.
Overview#
Connect IoT is a nodejs application. NodeJs allows the use of third party packages available at public registries like NPM. In our use case we will use customization to create a SQLite integration.
For this customization we will create new tasks that we can use to create workflows.
SQLite#
SQLite is a very interesting database. It is a lightweight, self-contained, serverless relational database engine. Unlike other database systems, SQLite does not require a separate server process — the database is stored in a single file on disk, making it easy to deploy and use.
Serverless: No need to install or manage a database serverZero Configuration: Ready to use out-of-the-boxCross-platform: Works on various operating systemsFast and Lightweight: Minimal overhead, suitable for resource-constrained environmentsACID Compliant: Ensures safe transactions even during crashes or power failures
It is used mostly in mobile, like android or iOS applications, for things like user settings, offline content, small local caches.
It is not suitable for high-concurrency systems with many simultaneous writes or applications that need clustering or replication.
Connect IoT is a nodejs application that forks other nodejs processes, but we don’t share persistency across different processes. This means that nodejs being a single threaded application and not sharing the persistency, makes SQLite an interesting approach to storing and querying data. Also the fact that it supports SQL as a query language makes it very user friendly.
There are a set of problems, even though it has support for json documents and is quite performant, it has to perform some transformations to the data.
The major problem is if you wish to use sqlite stored in a network drive. Beware this will cause you a lot of grief, there is an interesting article explaining this at Use over Net. Also, if you have SQLite stored in the automation manager container it will, be dropped if the container is restarted for some reason.
Persisted Data In Connect IoT#
Persisted data is a very important aspect of Connect IoT it has a robust approach to store and retrieving data. It also has a clever mechanism to avoid data corruption, namely the use of file indexing and a read cache. One of the gaps is the ability to query persisted data. This turns into a lot of JSON manipulation on the Controller data. I believe this could be highly mitigated by some smart querying.
Is this always a problem?
No, most integrations don’t require complex sets of stored data outside the MES. For most integrations, Connect IoT can leverage the MES to be the source of truth for information. Using the MES brings more visibility to the data and also enables the possibility of other types of business logic and analytics.
Nevertheless, there are several use cases where having a more complex persistency is helpful. It may be to avoid unnecessary load in the MES, could be due to the fact that having to make requests to the MES is too time consuming for your integration, it may be because the information is so tied to the integration that it doesn’t make sense to send it to the MES.
One example that always comes to mind is machines that don’t know the name of the material, and assign a virtual id. It would be very cumbersome for the MES to store an attribute in the material to match to that specific machine, for information that is irrelevant to anyone that is not that specific machine. What we can do instead is store the relation between the virtual id and the material and then when sending information to the MES perform the conversion.
Remember, one of the goals of Connect IoT is to be the first class interface to the MES and provide information in a way that is easy to digest by the MES.
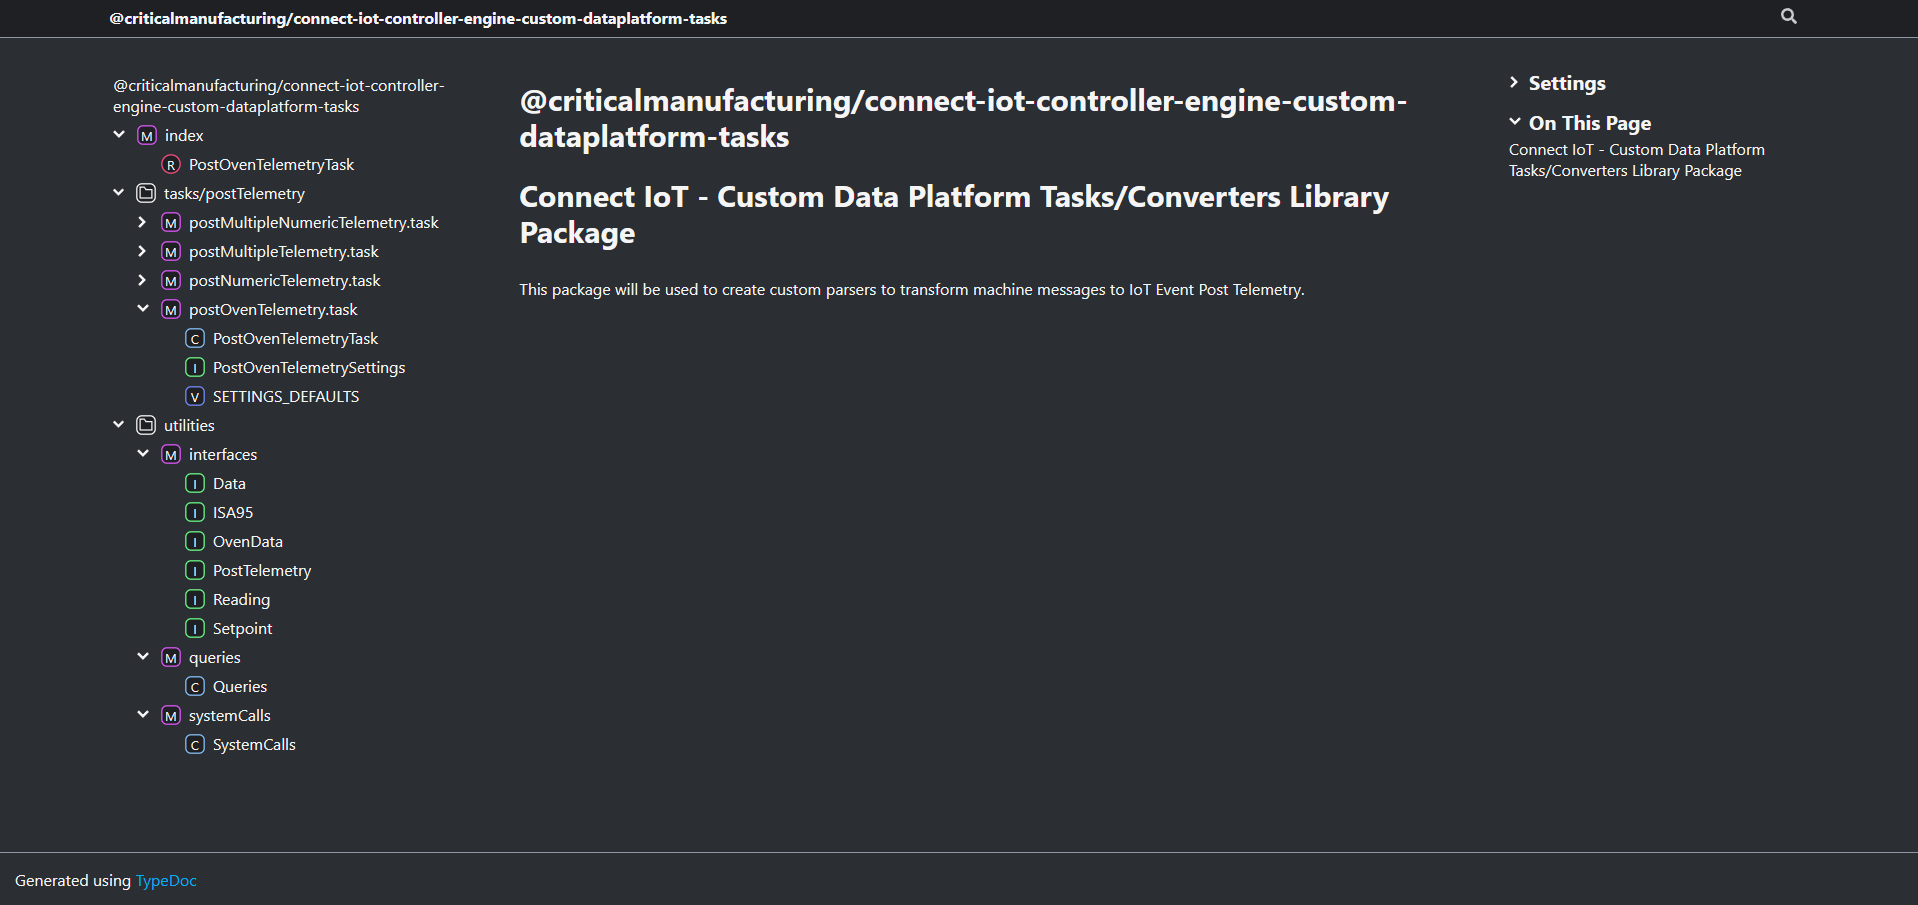
Creating Customization#
In Connect IoT it is quite simple to build your own customization. From, converters and tasks to new drivers. The whole process is described in the developer portal.
Let’s do it for our use case!
First we will create our workspace:
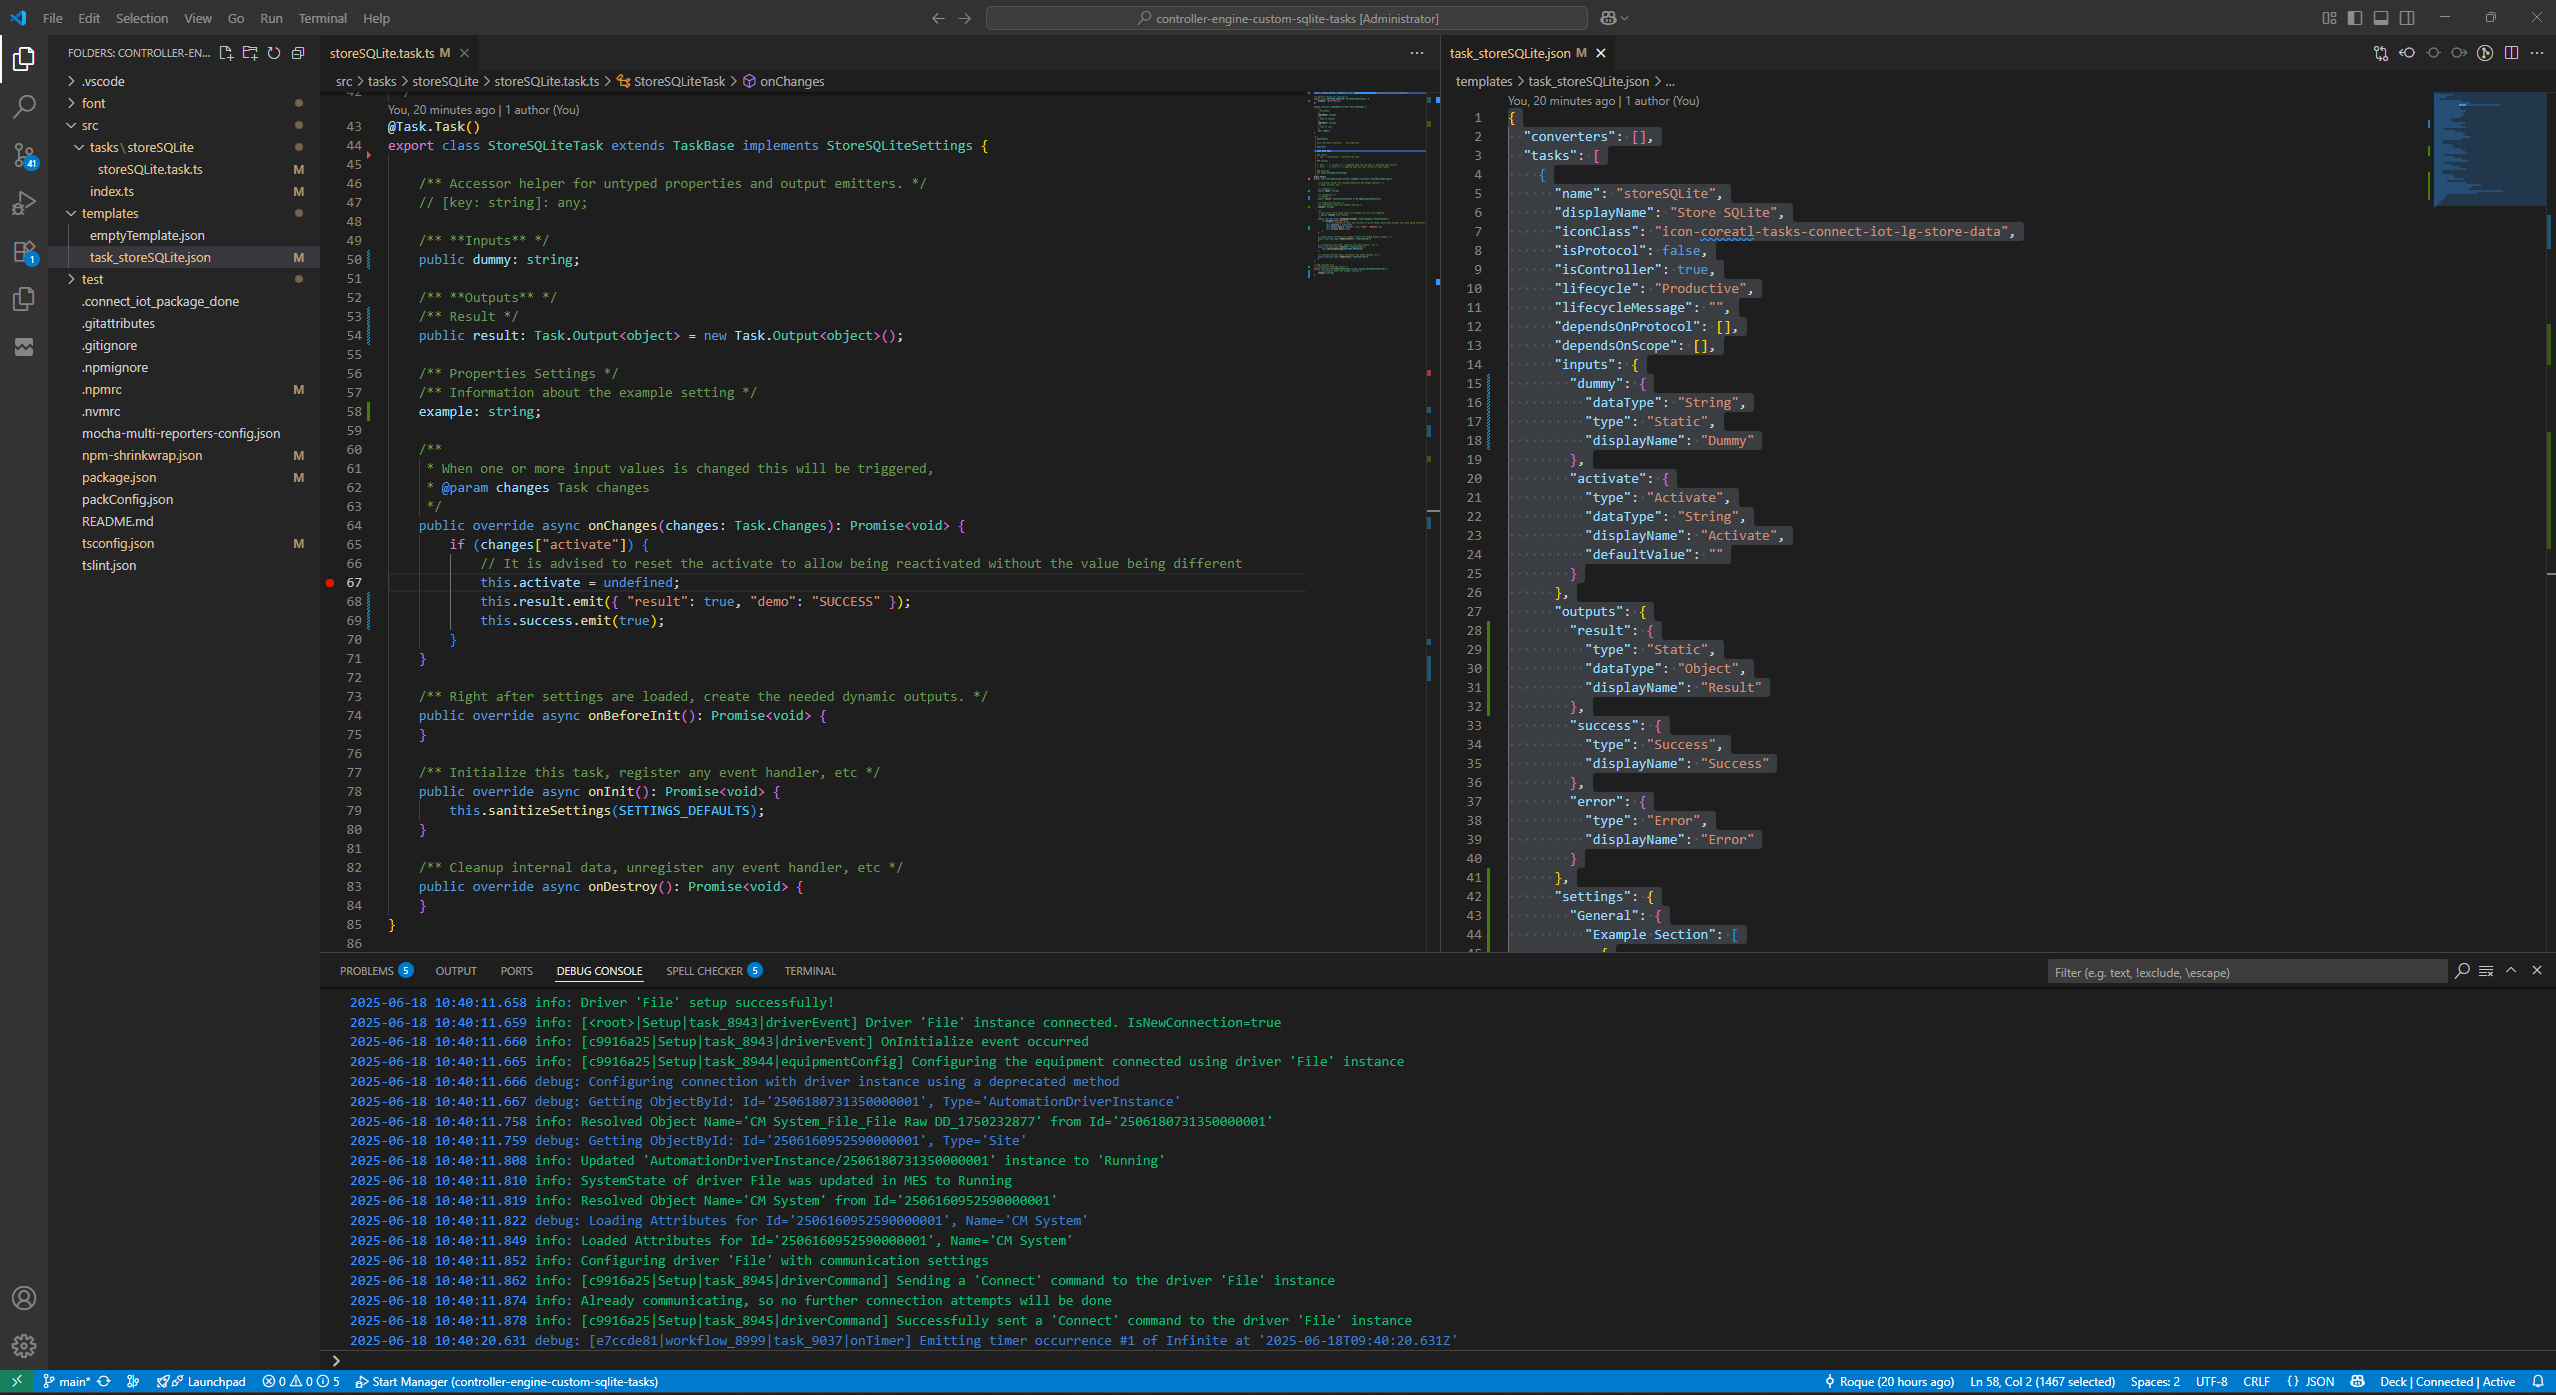
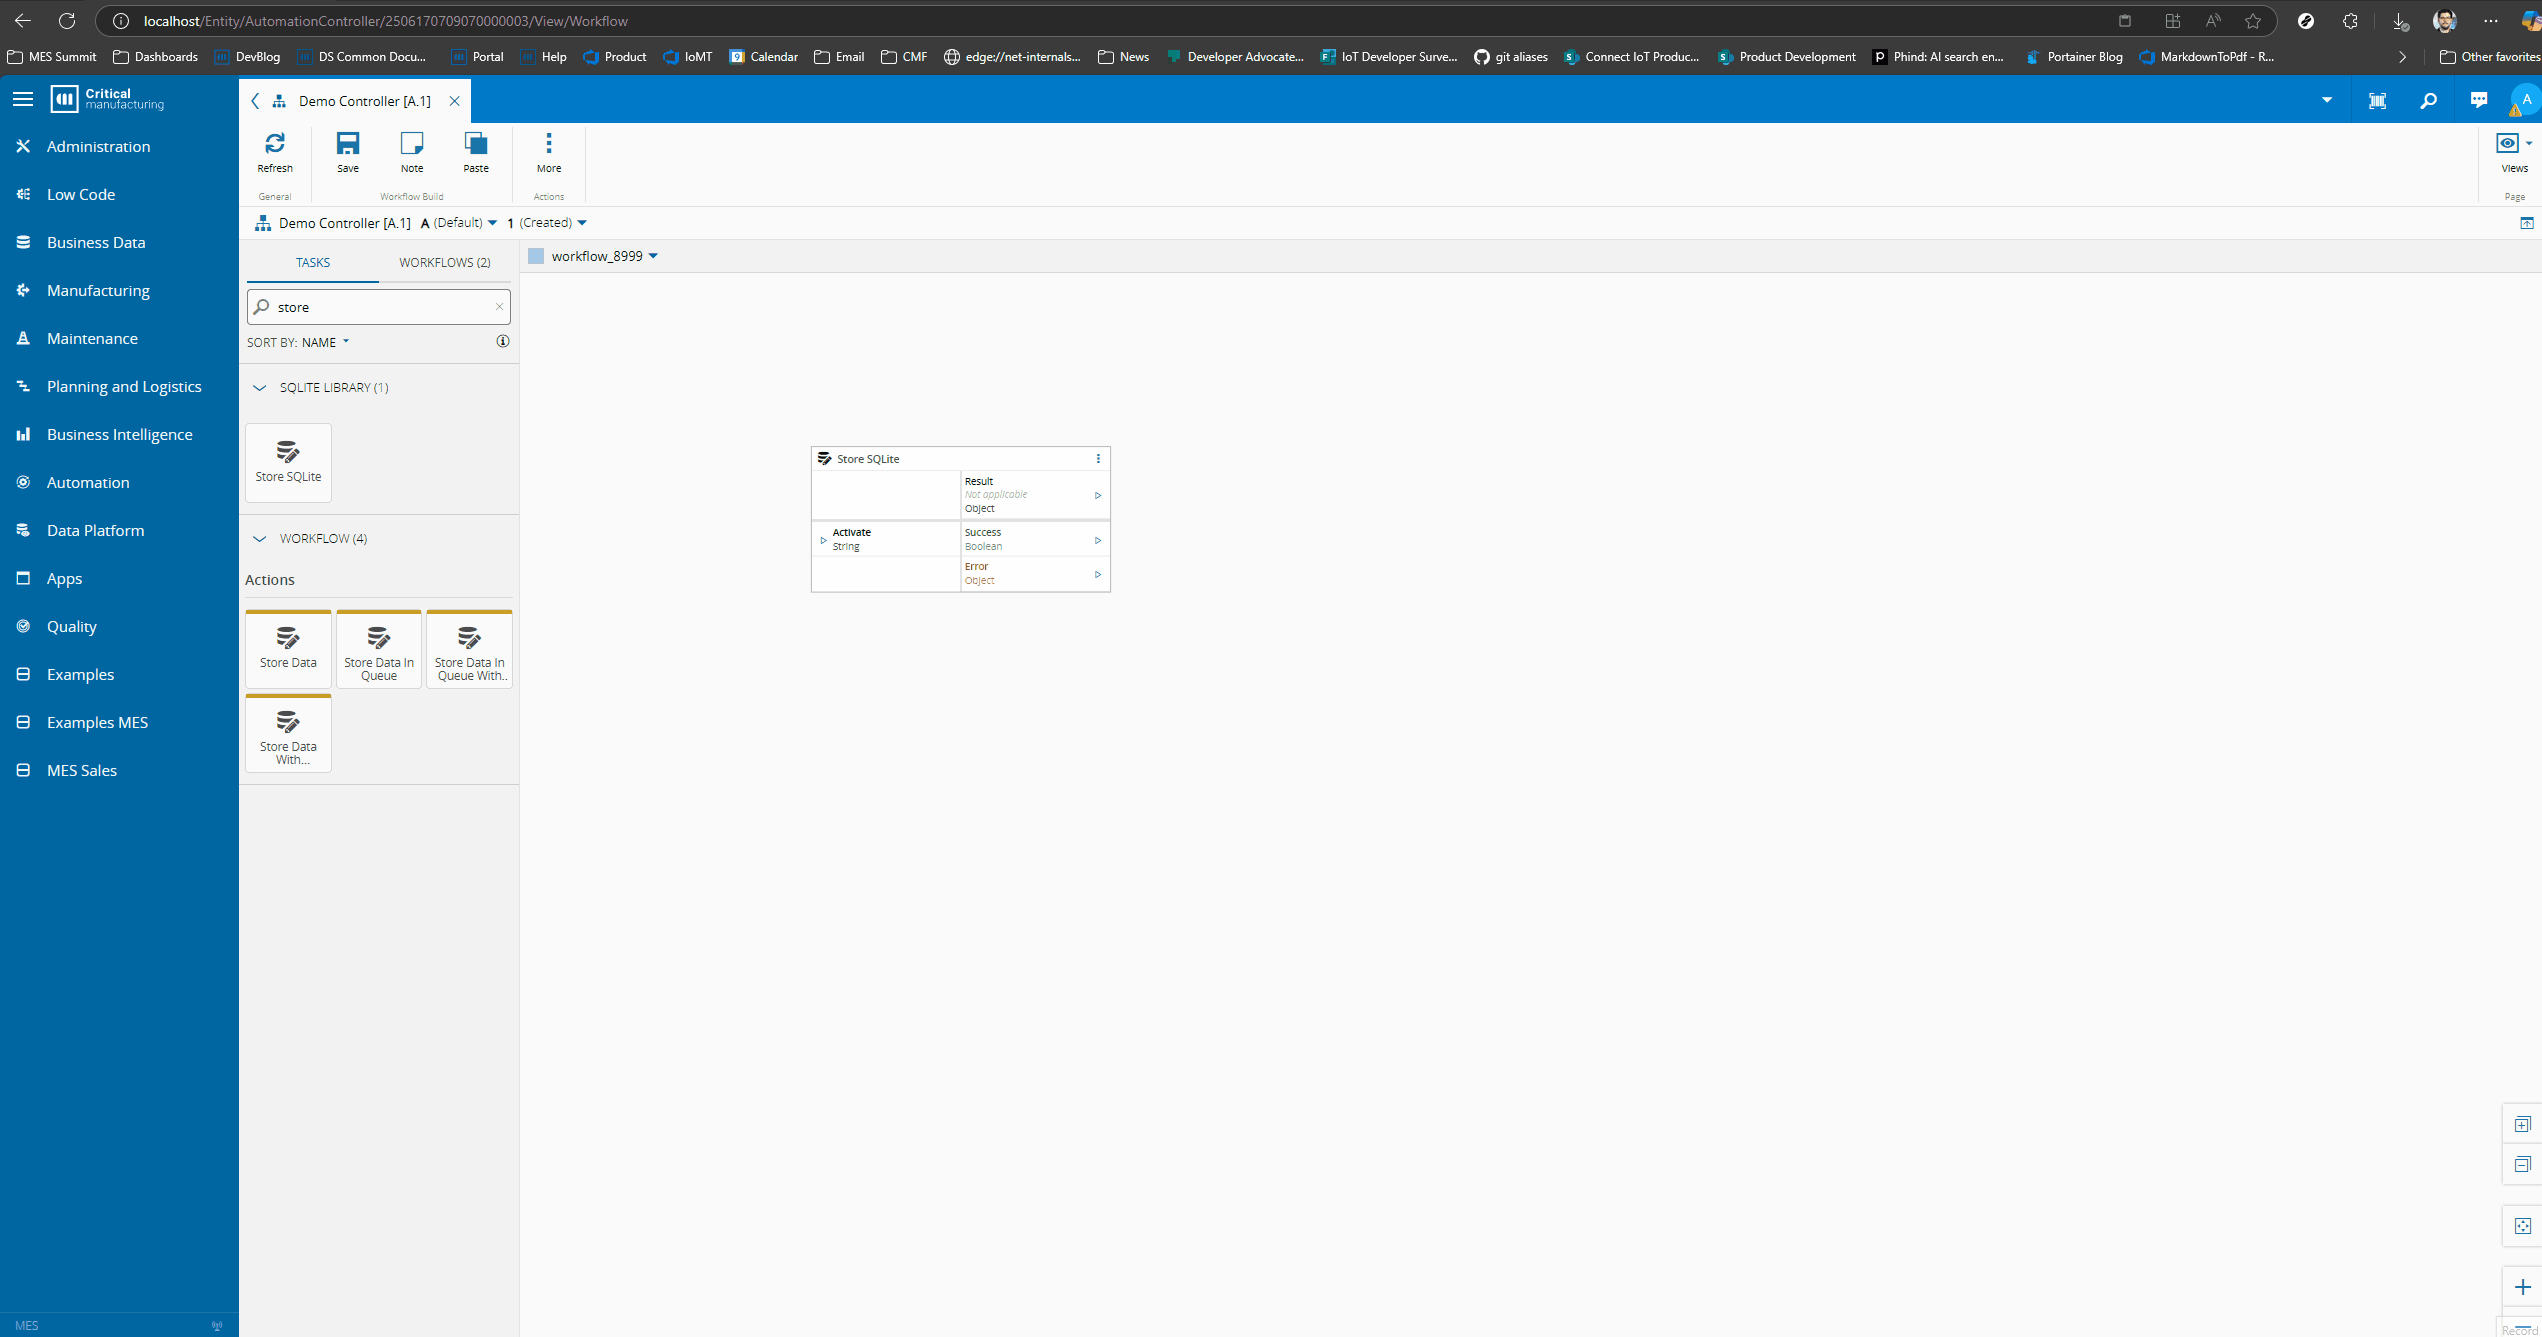
Now we can start creating our tasks and converters. For now let’s focus on the store task.
We now have a task that is fully functional and scaffolded. We can now either use the CM CLI cmf build commands or use specific commands like npm i, npm run build.
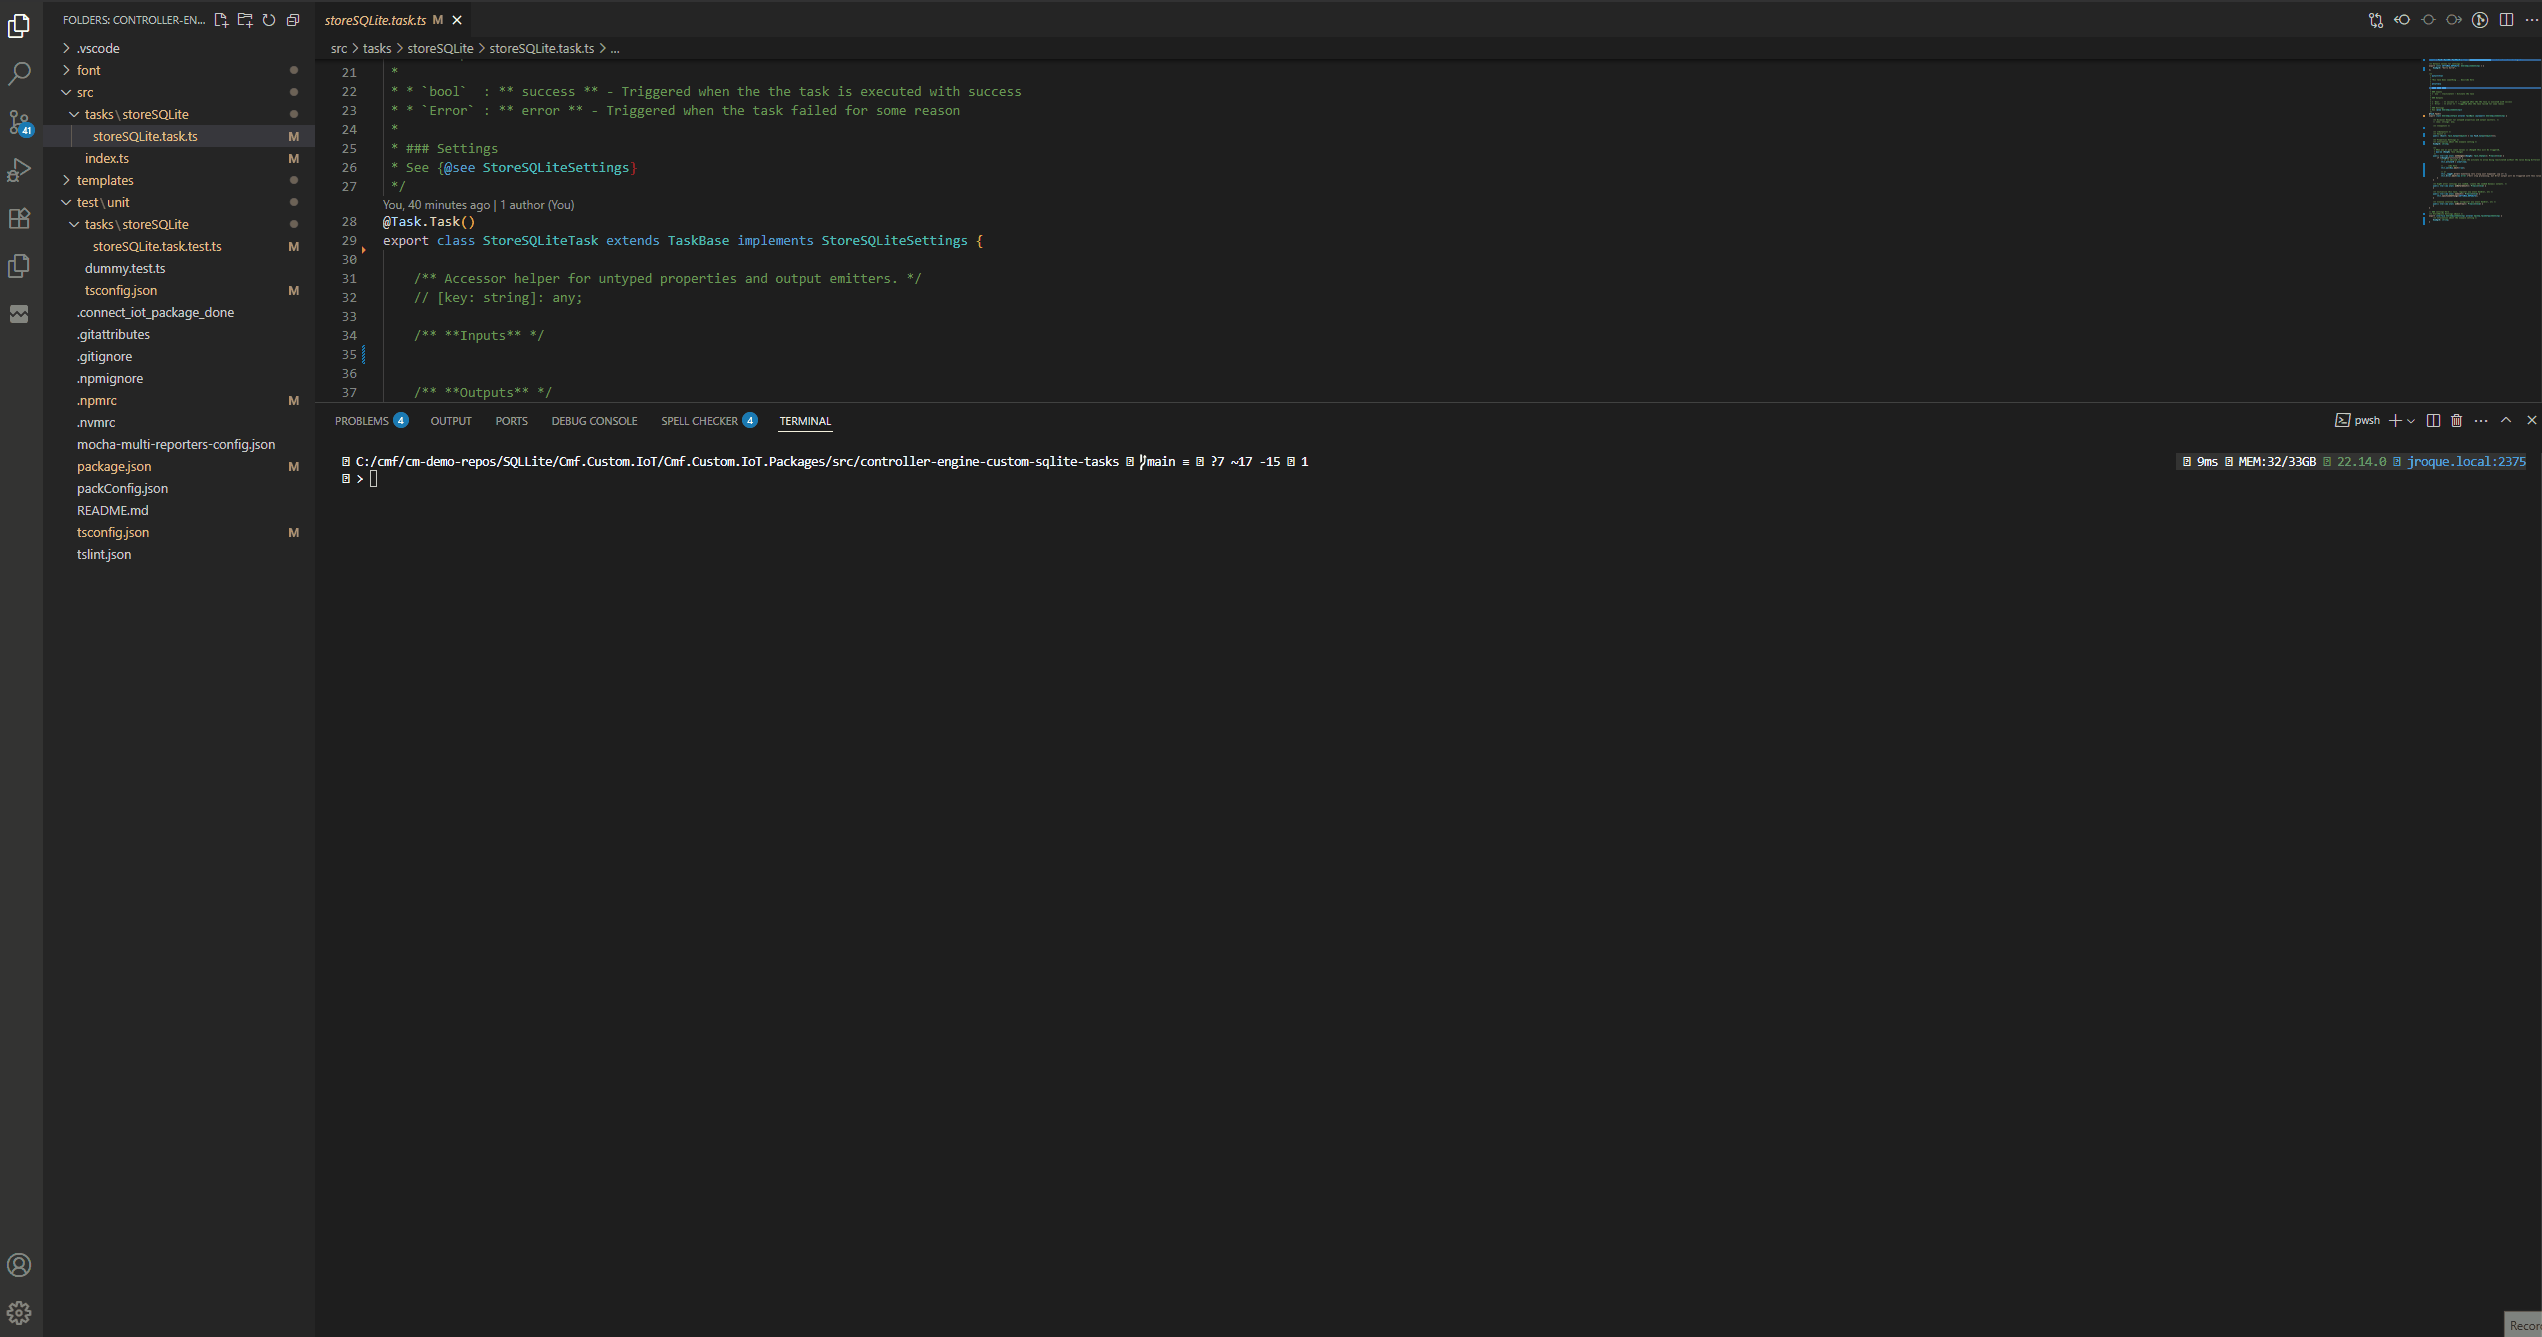
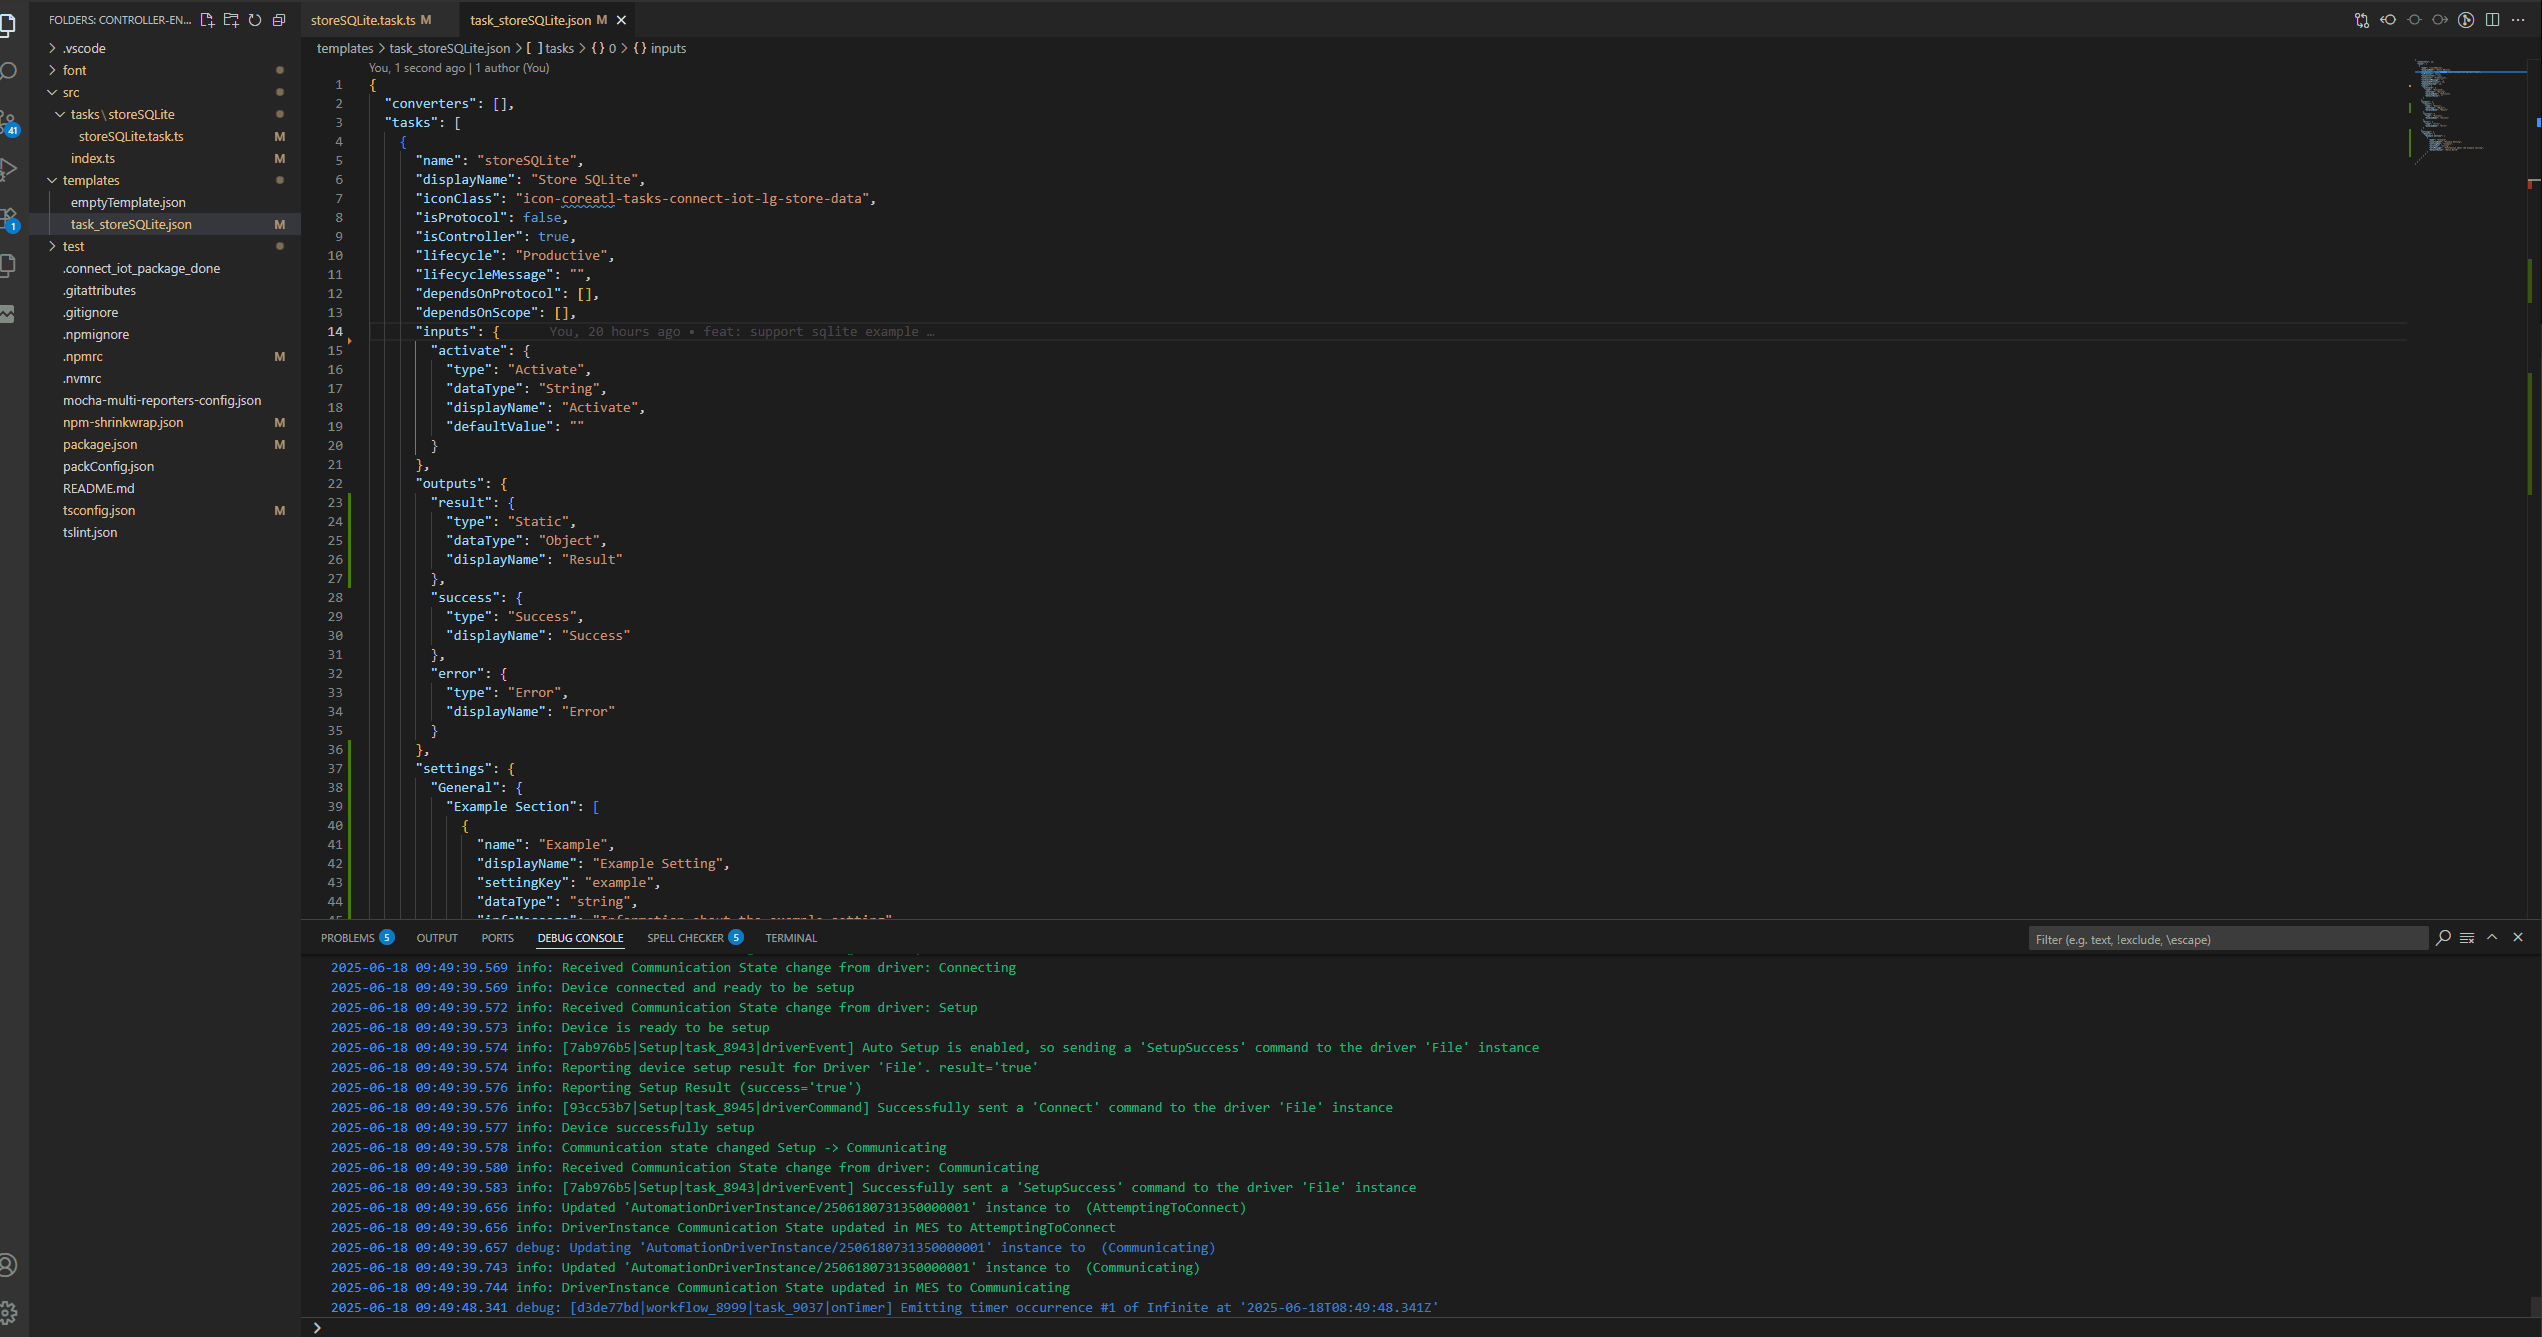
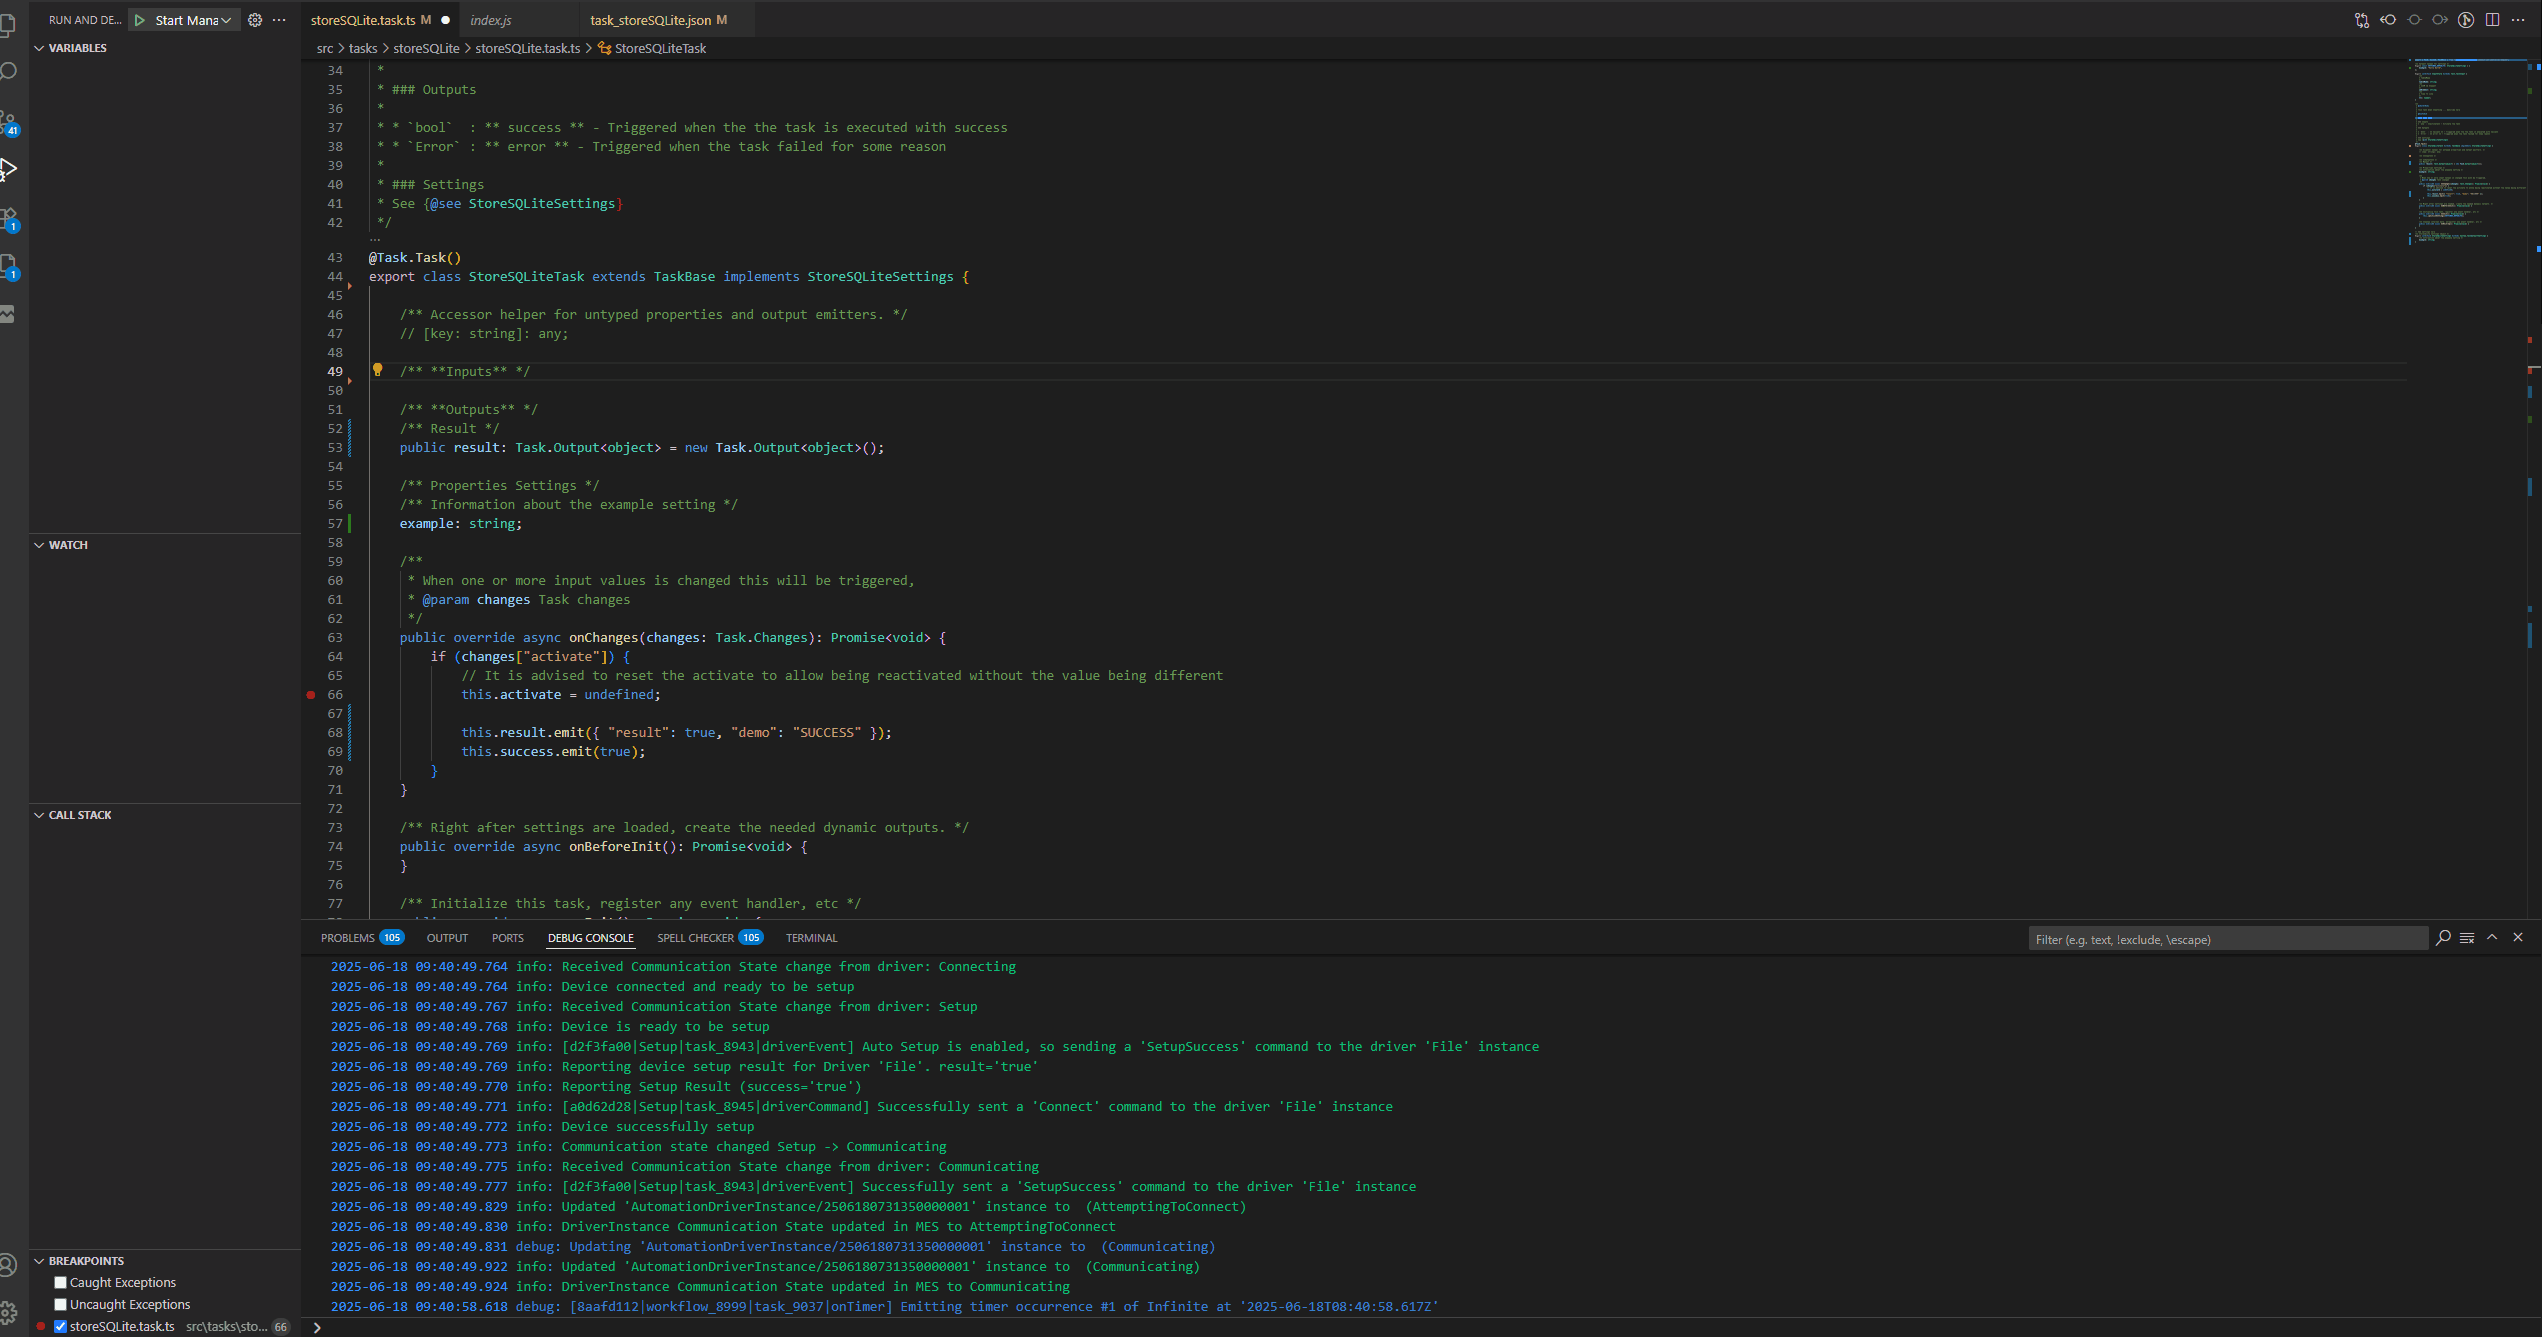
The three main elements of task are the task.ts file which holds the node runtime code, then we have the template .json file which will hold the metadata for rendering the task and finally we have our test file.
We can know already build our whole customization code and even deploy it to our system.
Setting up our Development Workspace#
Let’s create a deployment of our task in the system and prepare everything so we can debug our code. We will create a customization package for our environment and deploy it in our local environment.
With this we can already create a controller that uses our customization package.
npm run packagePacker in the root of the workspace.
And we can run it!
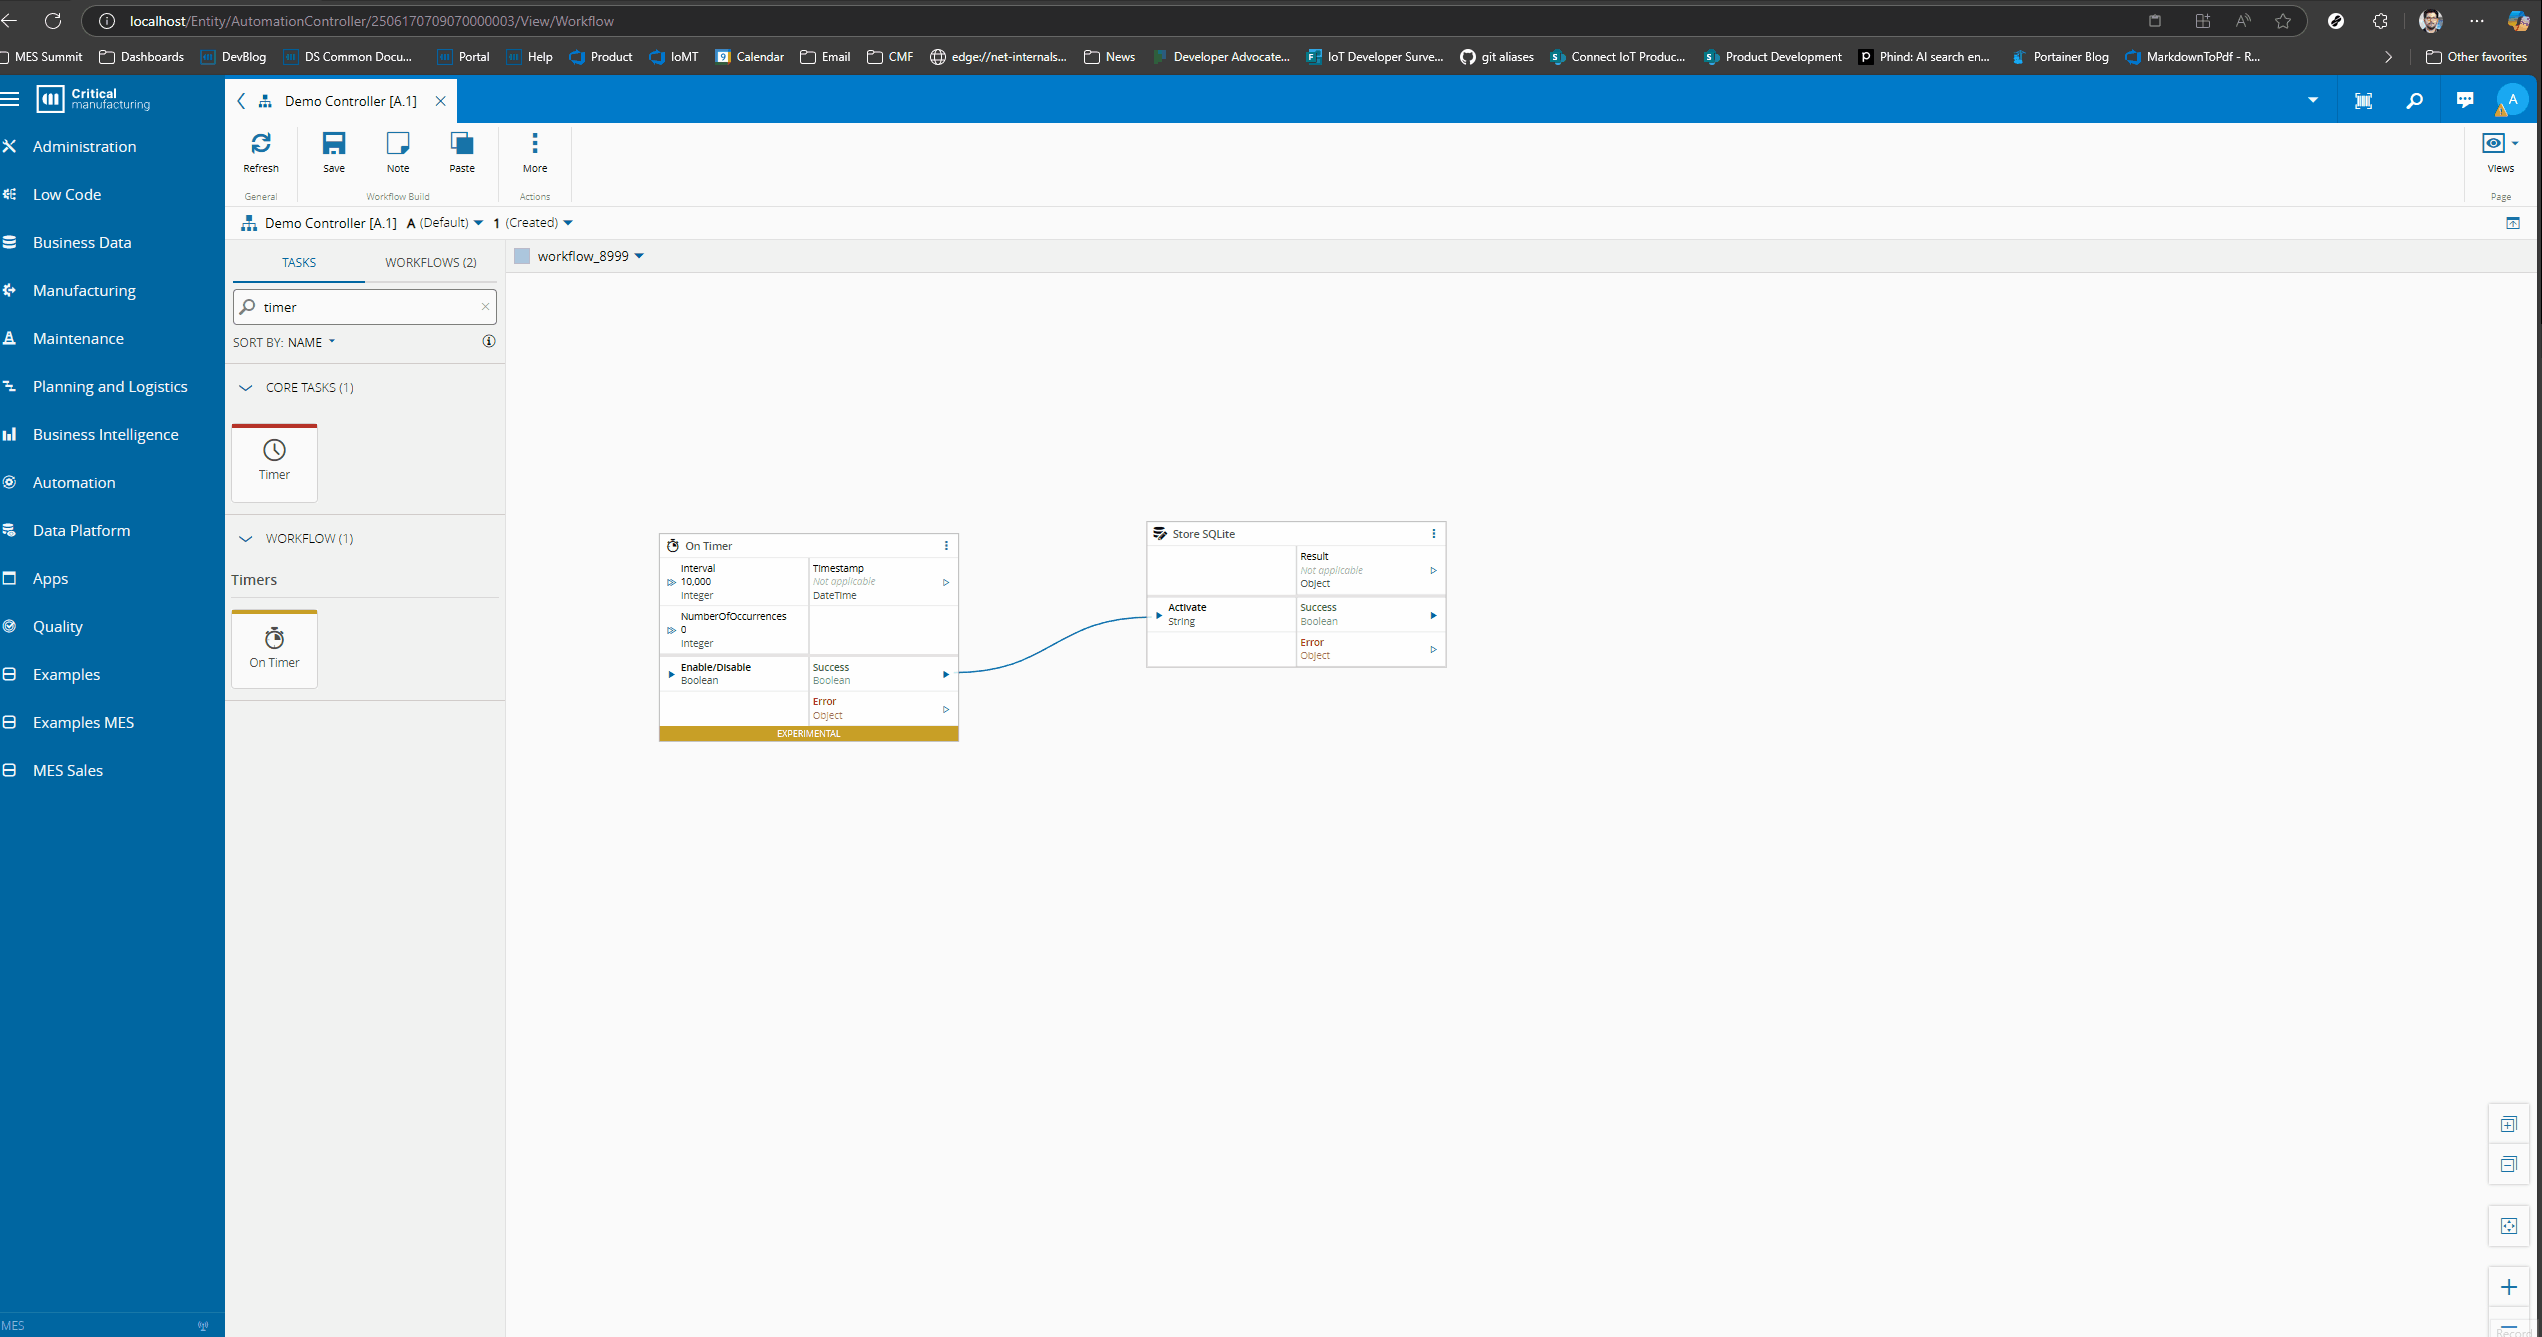
For now let’s add a simple timer that will call a task. We will connect to an Automation Manager, download and run the manager.
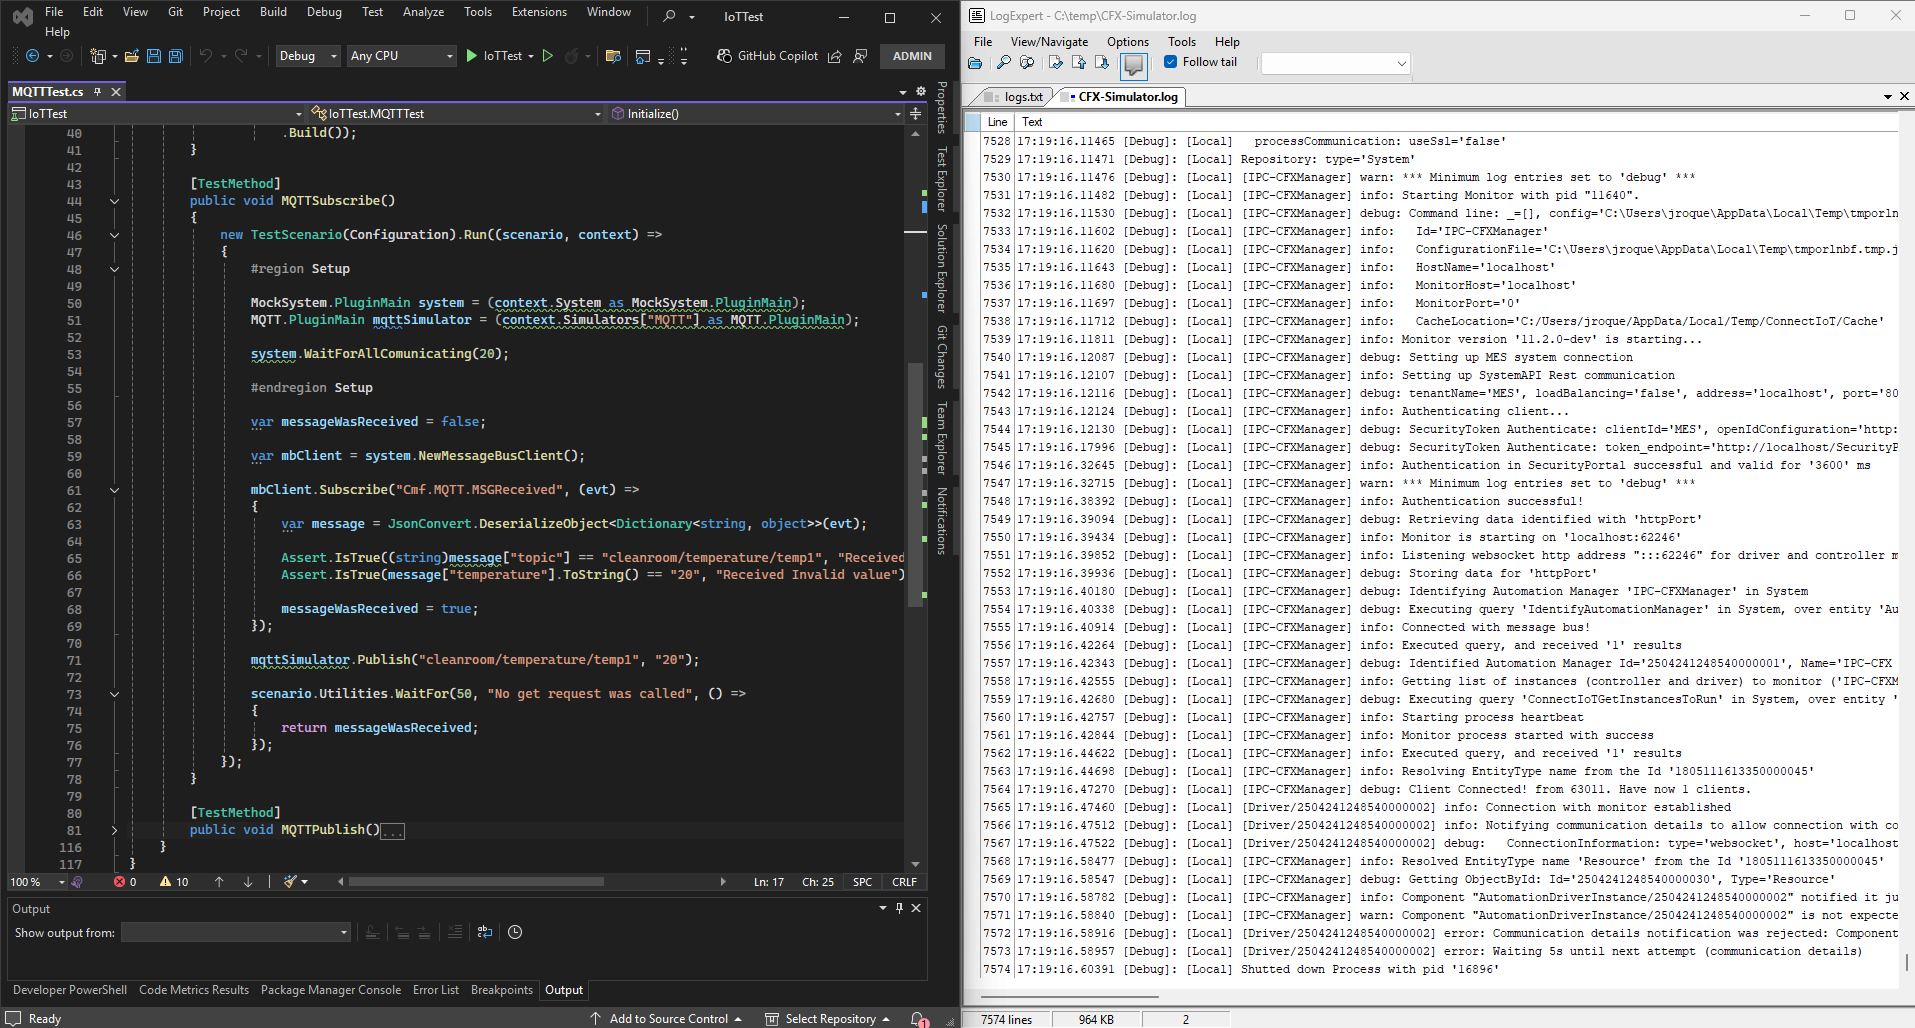
In order to be able to debug our customization task, we need to create symbolic link between the cache and our source code, then we just use the launch configuration already given by the scaffolding and provide our downloaded manager location.
Working on our Task#
We can now do a small example where we will change our task and see the change happening.
We will change the task to emit a valid result output. We could use the cmf build command, but the scaffolding also offers a set of useful commands we can leverage for our development process. We could use npm run build to build our application or we can use npm run watchPackage. This command will continuously build our application whenever it detects a change.
Let’s now change our task to add a new input. We can leverage the visual studio code extension to give us intellisense on our json template. Then we can edit our Automation Task Library and have instant changes in our system.
Simple use case#
I will start with showing a use case of a dummy static input.
Task Input#
In our store we will want a dynamic input where the user can store multiple inputs in different tables, with a particular row id and with a time to live. Let’s already prepare our input. Dynamic inputs allow us to configure metadata for that input and they can also behave in a drag and drop mode.

We can now change our workflow to see this working.
Final Thoughts#
Right now we are ready to start working and creating our customization code!!!